
Do you know what happens when a check valve fails? Your system can no longer control the one-way flow of the medium properly. The most direct results include backflow, reduced flow, pressure loss, valve leakage, unusual noise, and pipe vibration. For this reason, you should not treat check valve failure as a small, isolated problem.
If you do not deal with it in time, it may cause equipment downtime or even shut down the entire system. Next, you will learn what can happen when a check valve fails and how you can prevent it.
Do you know why a check valve is important in a piping system? Many sudden failures happen because the system does not have a reliable check valve. During normal flow, it opens quietly and lets the fluid move forward without getting in the way.
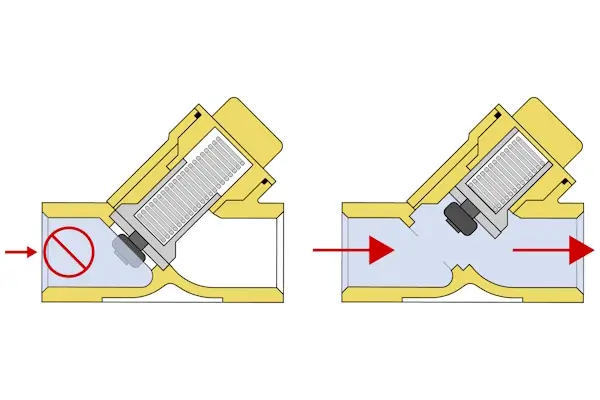
If pressure changes suddenly or the fluid starts to flow backward, it closes quickly to protect your system. In other piping systems, a check valve can also help you:
You should understand the problems caused by check valve failure. When your check valve leaks, sticks, or breaks, your pipeline loses its one-way protection. You may then face backflow, blocked flow, unstable pressure, and sudden impact on your equipment. When fluid flows backward at high speed, it can hit your pump impeller and damage your pump.
You may also face water hammer, strong vibration, loud noise, and loose pipe connections. A failed check valve can keep your system pressure unstable and reduce your equipment’s operating efficiency. In serious cases, you may have to stop the entire production line.
You should remember that check valve failure brings extra repair costs, replacement-part costs, and production delays. If you notice lower pressure, weak flow, unusual noise, or frequent pump starts, you should inspect the valve quickly. You should not wait until the whole system shuts down before taking action.
You should understand one important point: a check valve usually does not fail suddenly without warning. Before complete failure, you may notice backflow, pressure changes, unusual noise, or reduced flow in your system.
The earlier you find these warning signs, the easier it is to prevent further damage to pumps, pipes, and other equipment:
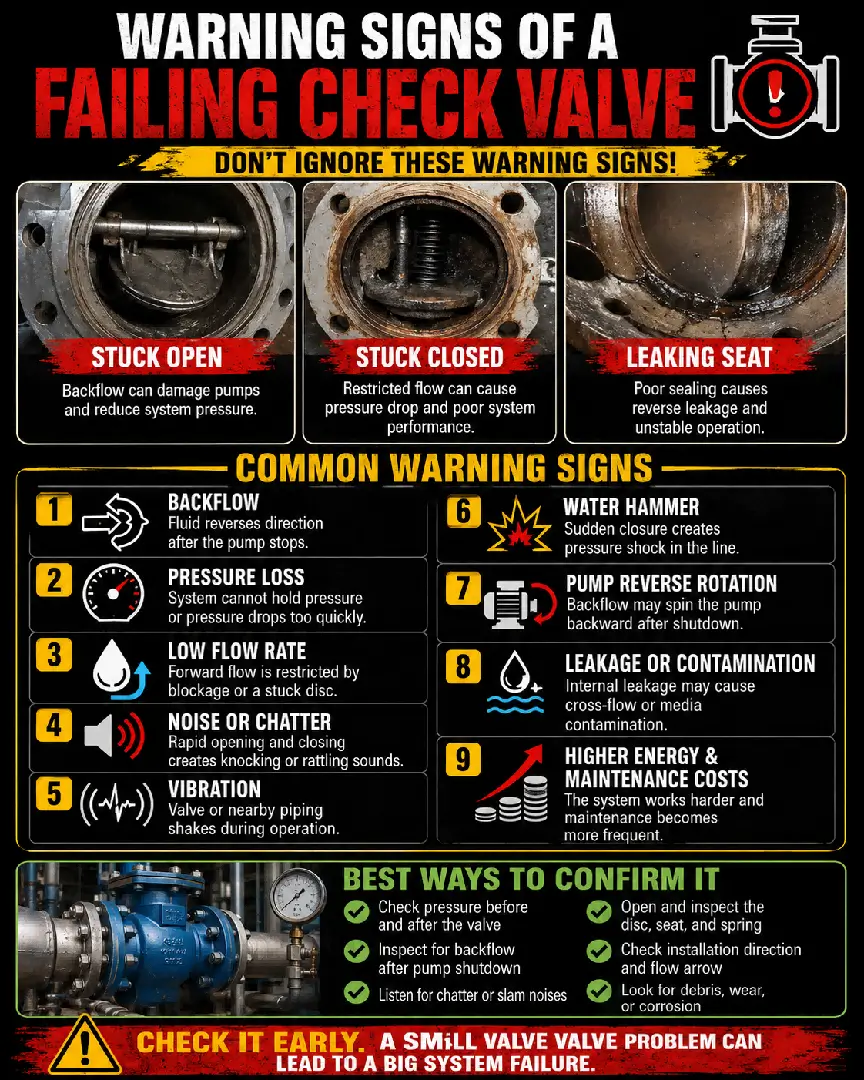
You should not rush to replace the valve after finding these problems. You should also check the flow rate, installation direction, pipe debris, and valve selection to find the real cause.
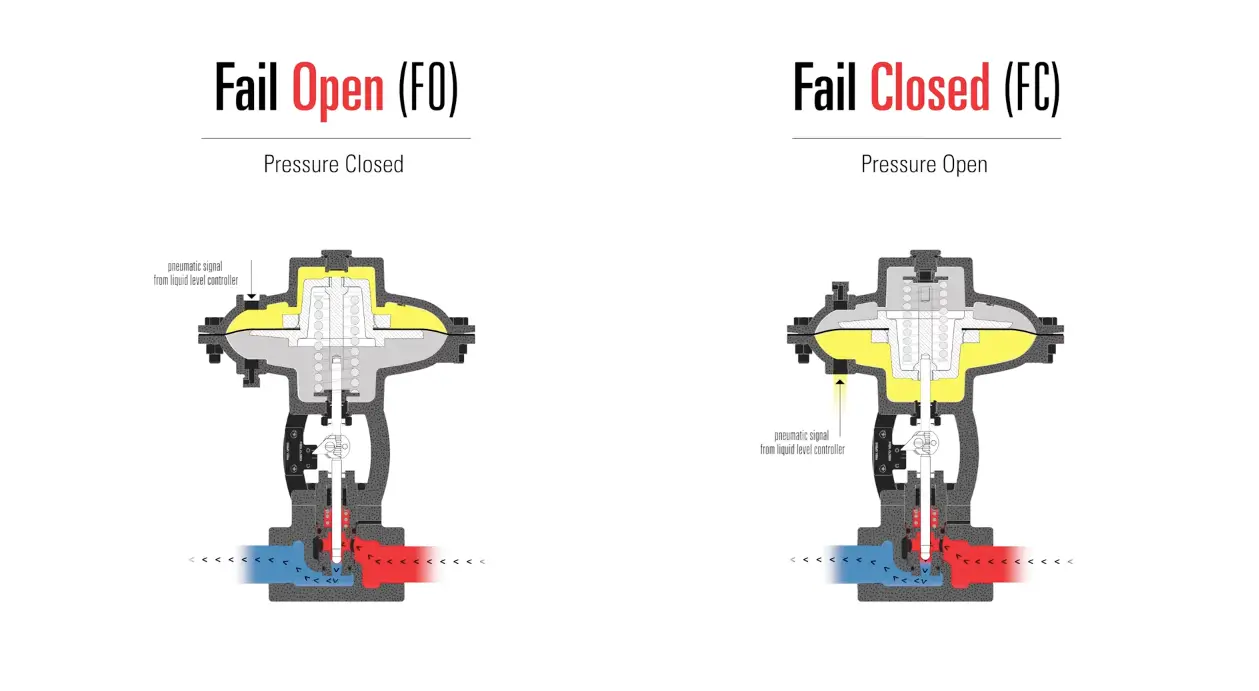
Many people do not know which position a check valve may stay in after failure. You should understand that it may fail open, fail closed, or become stuck in a partly open position. Unlike an actuated control valve, a check valve usually has no preset fail-open or fail-closed position. If your check valve fails open, it loses its ability to stop reverse flow.
The fluid can flow backward freely, which may cause water hammer, vibration, and pressure changes in your system. If your check valve fails closed, it completely blocks the flow path. The fluid cannot move through the pipeline, so your system may stop working normally.
A partly open check valve can be especially difficult for you to detect and manage. Continuous backflow can slowly damage your pump, wear pipe parts, and shorten the working life of your equipment. The table below helps you understand the three possible failure conditions more clearly:
| Failure Condition | Valve Behavior | Main System Symptoms | Main Risks |
|---|---|---|---|
| Failed Open | You cannot close it fully, or it does not seal properly | Backflow and loss of system pressure | Pump reverse rotation, contamination, and water hammer |
| Failed Closed | You cannot open it | No flow or reduced flow | Pump overheating, high upstream pressure, and production shutdown |
| Partially Open | It stays halfway open or moves repeatedly | Pressure changes, noise, and vibration | Faster wear, internal leakage, and lower efficiency |
Why does a check valve fail? In simple terms, most check valve failures do not happen suddenly. Over time, dirt, scale, and solid particles can build up inside your pipeline and block the valve disc. A failed check valve usually shows one of three conditions:
Below, you can see the common causes of check valve failure:
| Cause of Failure | Effect on Your Valve | Common Result |
|---|---|---|
| Dirt and Contamination | They block the disc or damage the valve seat | Backflow, blockage, and internal leakage |
| Oversized Valve | The disc cannot stay fully open | Chatter, wear, and noise |
| Low Flow Rate | The disc opens and closes repeatedly | Pressure changes and part fatigue |
| High Flow Speed | The closing part receives strong impacts | Disc bending and valve seat damage |
| Water Hammer | Your valve receives a sudden pressure shock | Spring, stem, or valve body damage |
| Incorrect Installation | The closing part cannot move normally | The valve cannot open or close |
| Worn Sealing Surfaces | A gap remains after the valve closes | Reverse leakage |
| Spring Fatigue | The valve loses part of its closing force | Slow closing or failure to close |
| Corrosion | Parts become weaker or stuck | Leakage, breakage, and blockage |
| Excessive Temperature or Pressure | Materials bend, harden, or wear faster | Seal failure and valve body damage |
| Fluid Crystals or Deposits | They stop the valve part from moving | The valve becomes stuck open, closed, or partly open |
| Poor Maintenance | Small problems continue to become worse | Sudden valve failure |
To reduce check valve failure, you should not focus only on valve price or pipe size. You should select the valve according to your actual flow, pressure, temperature, fluid type, and installation position.
You do not need to wait until your equipment completely stops before checking whether a check valve has failed. You can often find early problems by watching small changes during daily operation. You can follow these steps:
Step 1: You should decide which type of failure best matches your system symptoms.
Step 2: You should check whether the flow arrow on the valve body matches the normal fluid direction.
Step 3: You should measure the pressure before and after the check valve.
Step 4: You can slowly increase the inlet pressure and watch when forward flow begins, provided the system allows safe testing.
Step 5: You should perform a reverse sealing test.
Step 6: You should check for chatter, banging sounds, and vibration.
Step 7: You should check the valve body and connections for outside leakage.
Step 8: You should check for unusual temperature changes around the valve and pipeline.
Step 9: You should isolate other possible fault points before blaming the check valve.
Step 10: You should stop the system safely and inspect the internal parts.
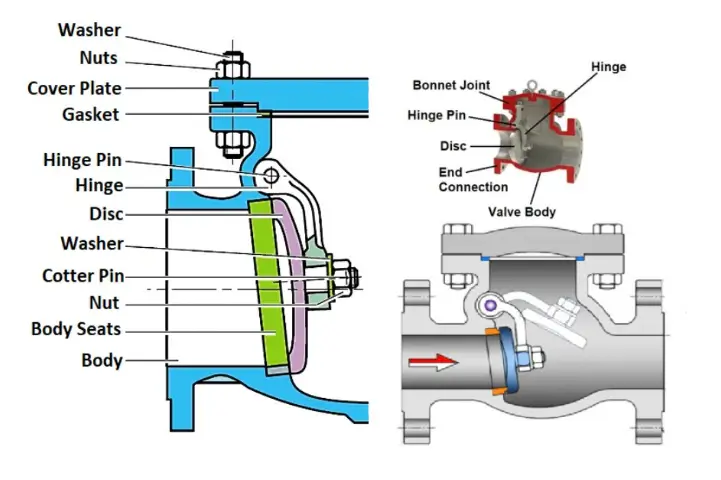
If you find that a check valve has failed, do not panic. First, stop the system and release all pressure before checking or taking apart the valve. Close the isolation valves before and after the failed check valve. This separates the affected pipe section from the rest of your system.
Next, take apart the valve and inspect its internal condition. You should also confirm whether the check valve is truly causing the problem. Many system problems look like check valve failure, but the real cause may come from another part. You also need to identify the type and cause of the check valve failure.
If dirt, scale, or particles have caused the valve to stick, cleaning the inside may solve the problem. If the sealing surface is worn or bent, or the disc cannot be repaired, you should replace the check valve promptly. After completing the repair, you should regularly remove dirt from the pipeline and perform routine maintenance.
A failed check valve may cause pump reverse rotation, backflow, unstable pressure, water hammer, and cross-contamination. In serious cases, it may also damage your pipes and other equipment. Therefore, you should protect both workers and the entire system when handling a failed check valve.
After you confirm that a check valve has failed, you must decide whether to repair or replace it based on the actual damage. In simple terms, you can consider repair if dirt, light seal wear, or replaceable parts caused the failure. The valve body must also remain complete and in good condition.
You should usually replace the valve if the body is cracked, badly corroded, or the sealing surface cannot be repaired. You should also replace it if the original valve does not suit the actual working conditions.
You can repair the check valve in the following situations:
You should replace the check valve in the following situations:
You should not treat repairing the check valve as the final goal. Your real goal is to remove the root cause of the failure. You must also ensure the repaired or replacement valve suits the actual flow, pressure, fluid, and installation conditions.
Once you notice a check valve failure, do not let the piping system continue running. You should first stop the system and release all pressure to keep the inspection safe. Next, open the valve and carefully check the cause of the problem.
After the repair, you should perform regular maintenance to reduce dirt buildup and damage from fluid pressure shocks. For professional advice, you can provide the flow rate, pressure difference, fluid type, and materials. We can then help you select a check valve system that suits your application.
—— We Will Provide You With Professional OEM Solutions.
Whether you require pump bearings, pump valves, mechanical seals, or other custom-engineered components, we support production based on your drawings as well as rapid prototyping.
Please complete the form on the right and upload your technical drawings or specifications. Our engineering team will review your requirements within 24 hours and provide a detailed quotation, application recommendations, and delivery schedule.
Copyright © 2025 Sakowit, All rights reserved.
WhatsApp us