
You should know that a leaking check valve is not just a minor sealing problem. It can cause backflow, pressure loss, frequent pump cycling, water hammer, wasted energy, and damage to your pipes, pumps, or other equipment. So, why is your check valve leaking?
Common causes include debris between the disc and seat, worn sealing surfaces, incomplete closing, a damaged spring, wrong installation, or the wrong valve type. This guide explains the common causes, diagnosis steps, and solutions, helping you find the real problem quickly and prevent the leak from happening again.
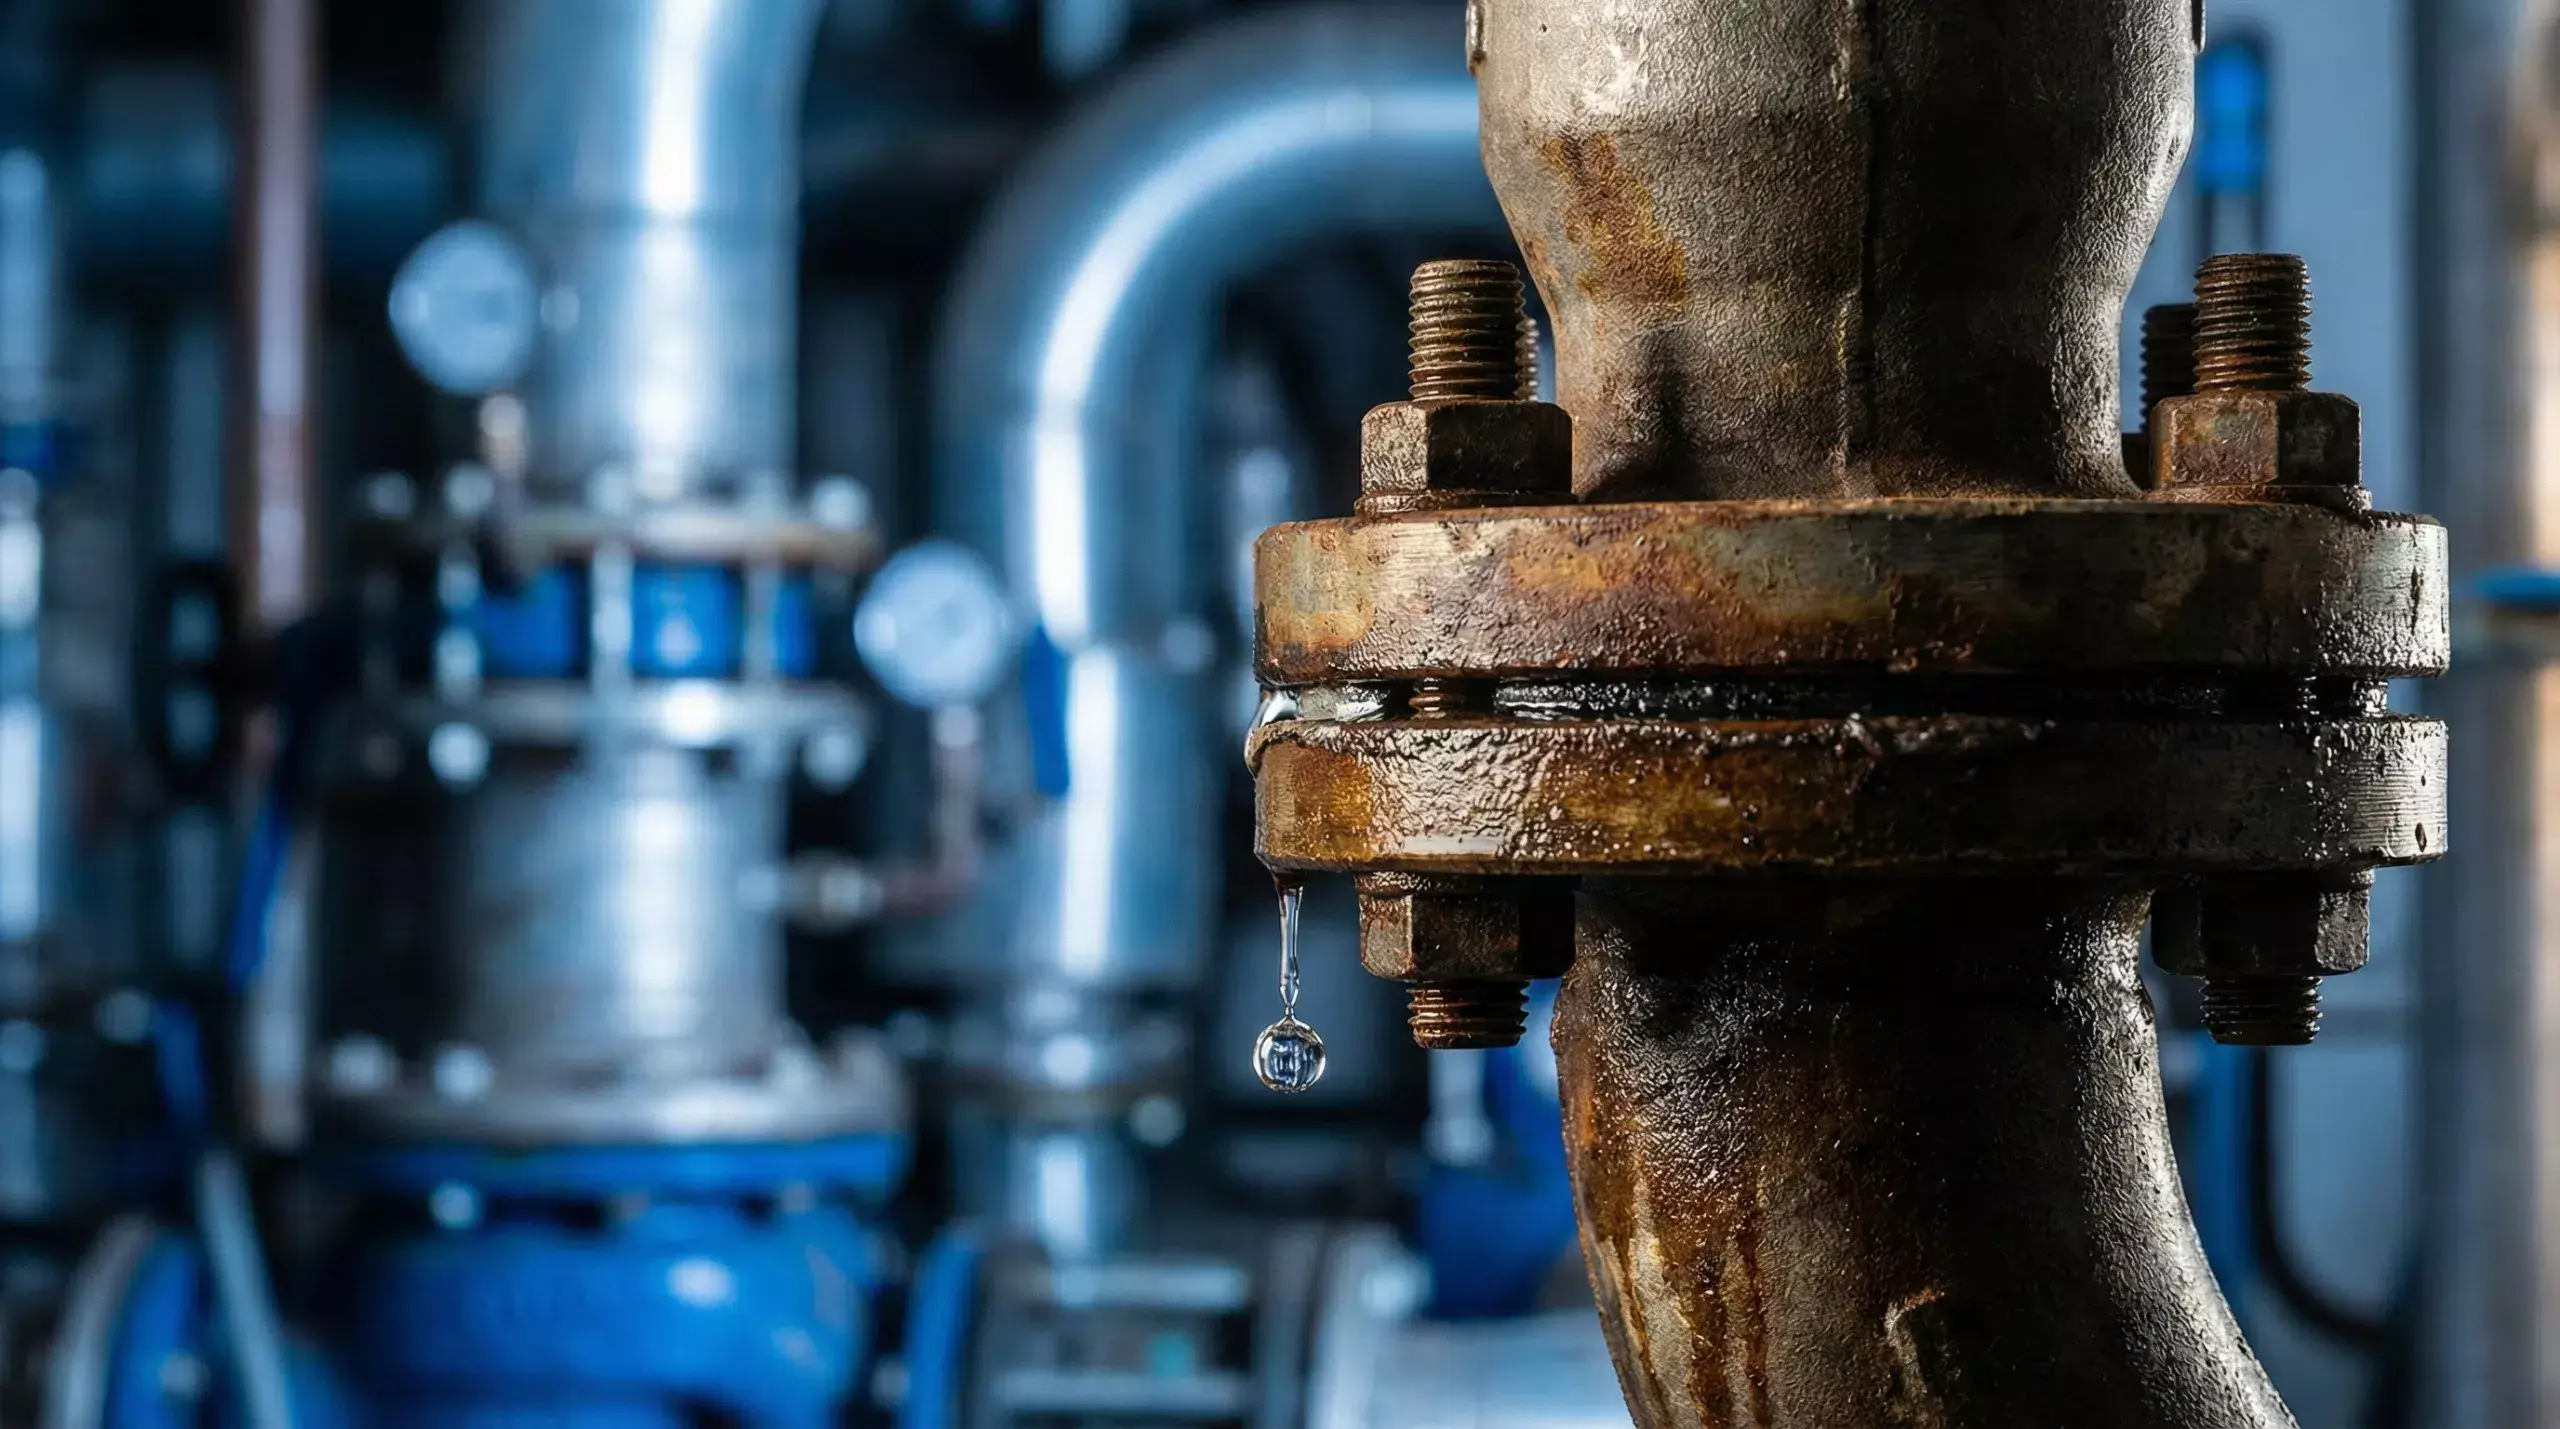
A leaking check valve means the valve cannot fully stop reverse flow. Check valve leaks are generally divided into two types: internal leaks and external leaks. Internal leakage happens after the check valve closes.
You may notice pressure loss after pump shutdown, reverse flow, frequent pump restarts, or unstable equipment operation. External leakage means fluid escapes from the valve body, cover, flange, threaded connection, or gasket.
The signs of a leaking check valve depend on the leak location, the type of fluid, and how the system operates. Common signs include:
| Observed Symptom | Possible Leak Type | Common Causes | Recommended Checks | Recommended Solution |
|---|---|---|---|---|
| Pressure drops after the pump stops | Internal leakage | Debris on the valve seat, worn sealing surfaces, or a disc that does not close fully | Isolate the valve and perform a pressure-holding test | Clean the valve seat; replace the disc, seat, or complete valve |
| Fluid flows backward through the pipe | Internal leakage | Stuck disc, failed spring, or incorrect installation direction | Check the flow arrow, disc movement, and spring condition | Reinstall the valve; clean the internal parts; replace the spring |
| The pump restarts frequently | Internal or system leakage | Backflow through the check valve, pipe leakage, or pressure-tank problems | Monitor pressure after shutdown and isolate each system section | Repair the leak; inspect the check valve and pressure-control system |
| The valve makes banging noises | Closing problem | Oversized valve, high reverse-flow speed, or unsuitable closing speed | Check flow speed, valve size, and installation distance | Select a better valve size, reduce flow speed, or use a faster-closing valve |
| The valve continues to vibrate or chatter | Unstable operation | Low flow, changing flow, or an oversized valve | Compare the actual flow with the valve's opening range | Select a more suitable valve size or design |
| Leakage around the flange | External leakage | Loose bolts, a worn gasket, or an uneven flange surface | Check bolt tightness, gasket condition, and flange surface | Tighten as required; replace the gasket; repair the flange surface |
| Leakage from a threaded connection | External leakage | Loose threads, failed sealing material, or damaged threads | Check the installation direction, threads, and sealing material | Reseal and reinstall the connection; replace damaged fittings |
| Leakage from the valve body or cover | External leakage | Corrosion, cracks, worn seals, or poor assembly | Clean the surface and identify the exact leak location | Replace the seals; replace the complete valve if the damage is serious |
| Hissing sound in a gas system | External leakage | Loose fittings, damaged seals, or valve-body leakage | Use a suitable gas-leak detection method | Tighten the connection; replace the seal or valve |
| Backflow continues after cleaning | Internal leakage | Scratched valve seat, bent disc, or weak spring | Inspect the sealing surfaces and moving parts | Replace the damaged parts or the complete check valve |
| A new valve leaks immediately after installation | Internal or external leakage | Wrong installation direction, debris inside the pipe, or incorrect valve specification | Check the flow arrow, pipe cleanliness, and operating conditions | Reinstall the valve, flush the pipe, or select a different valve |
| Leakage occurs only at low flow | Closing problem | Insufficient pressure difference or unstable disc movement | Check minimum flow, pressure difference, and cracking pressure | Select a valve with lower cracking pressure or one designed for low-flow conditions |
ou should first determine whether the problem is internal or external leakage. Then inspect the valve seat, disc, spring, connections, and system operating conditions. Do not replace the check valve based on only one symptom.
Dirt and debris are common causes of internal check valve leakage. Rust, welding slag, scale, sand, or other solid particles may become trapped between the valve disc and seat. After the check valve closes, liquid or gas may flow backward through this small gap. This can cause pressure loss, backflow, or frequent pump restarts. You should check for the following signs:
To prevent the problem from returning, you can install a filter upstream of the check valve. You should also flush new pipes thoroughly before putting the system into operation.
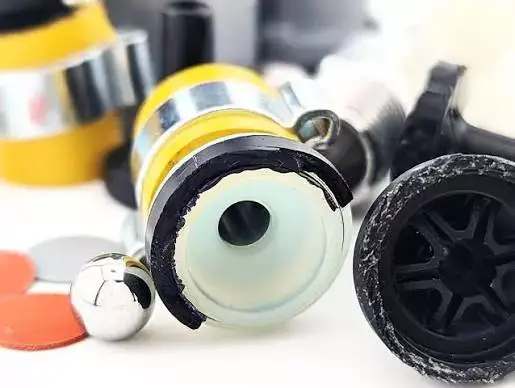
The valve seat is a key part that helps a check valve form a tight seal. Frequent opening and closing, fluid wear, corrosion, particles, or water hammer can cause wear, pits, cracks, or changes in the valve seat shape. You may notice continued pressure loss after the pump stops, reverse flow, or leakage that remains after the valve has been cleaned. You should check for the following signs:
To reduce further damage, you should control flow speed and water hammer while keeping the fluid clean. You should also select a seat material that matches the system pressure, temperature, fluid type, and operating frequency.
The disc, ball, or poppet is the closing part inside a check valve that directly prevents fluid from flowing backward. Repeated opening and closing, water hammer, valve chatter, high-speed flow, corrosion, or solid particles can scratch, wear, dent, bend, or deform these parts. You should check for the following signs:
If you find clear wear, bending, cracks, or deformation, you should replace the damaged disc, ball, or poppet. You should also check the valve seat, guide parts, and spring for damage.
Seals fill small gaps inside the valve or around connections, preventing liquid or gas from leaking. Common seals include O-rings, gaskets, soft valve seats, and valve cover seals. You should check for the following signs:
If the seal is old, cracked, or deformed, you should replace it with a new seal of the same size and specification.
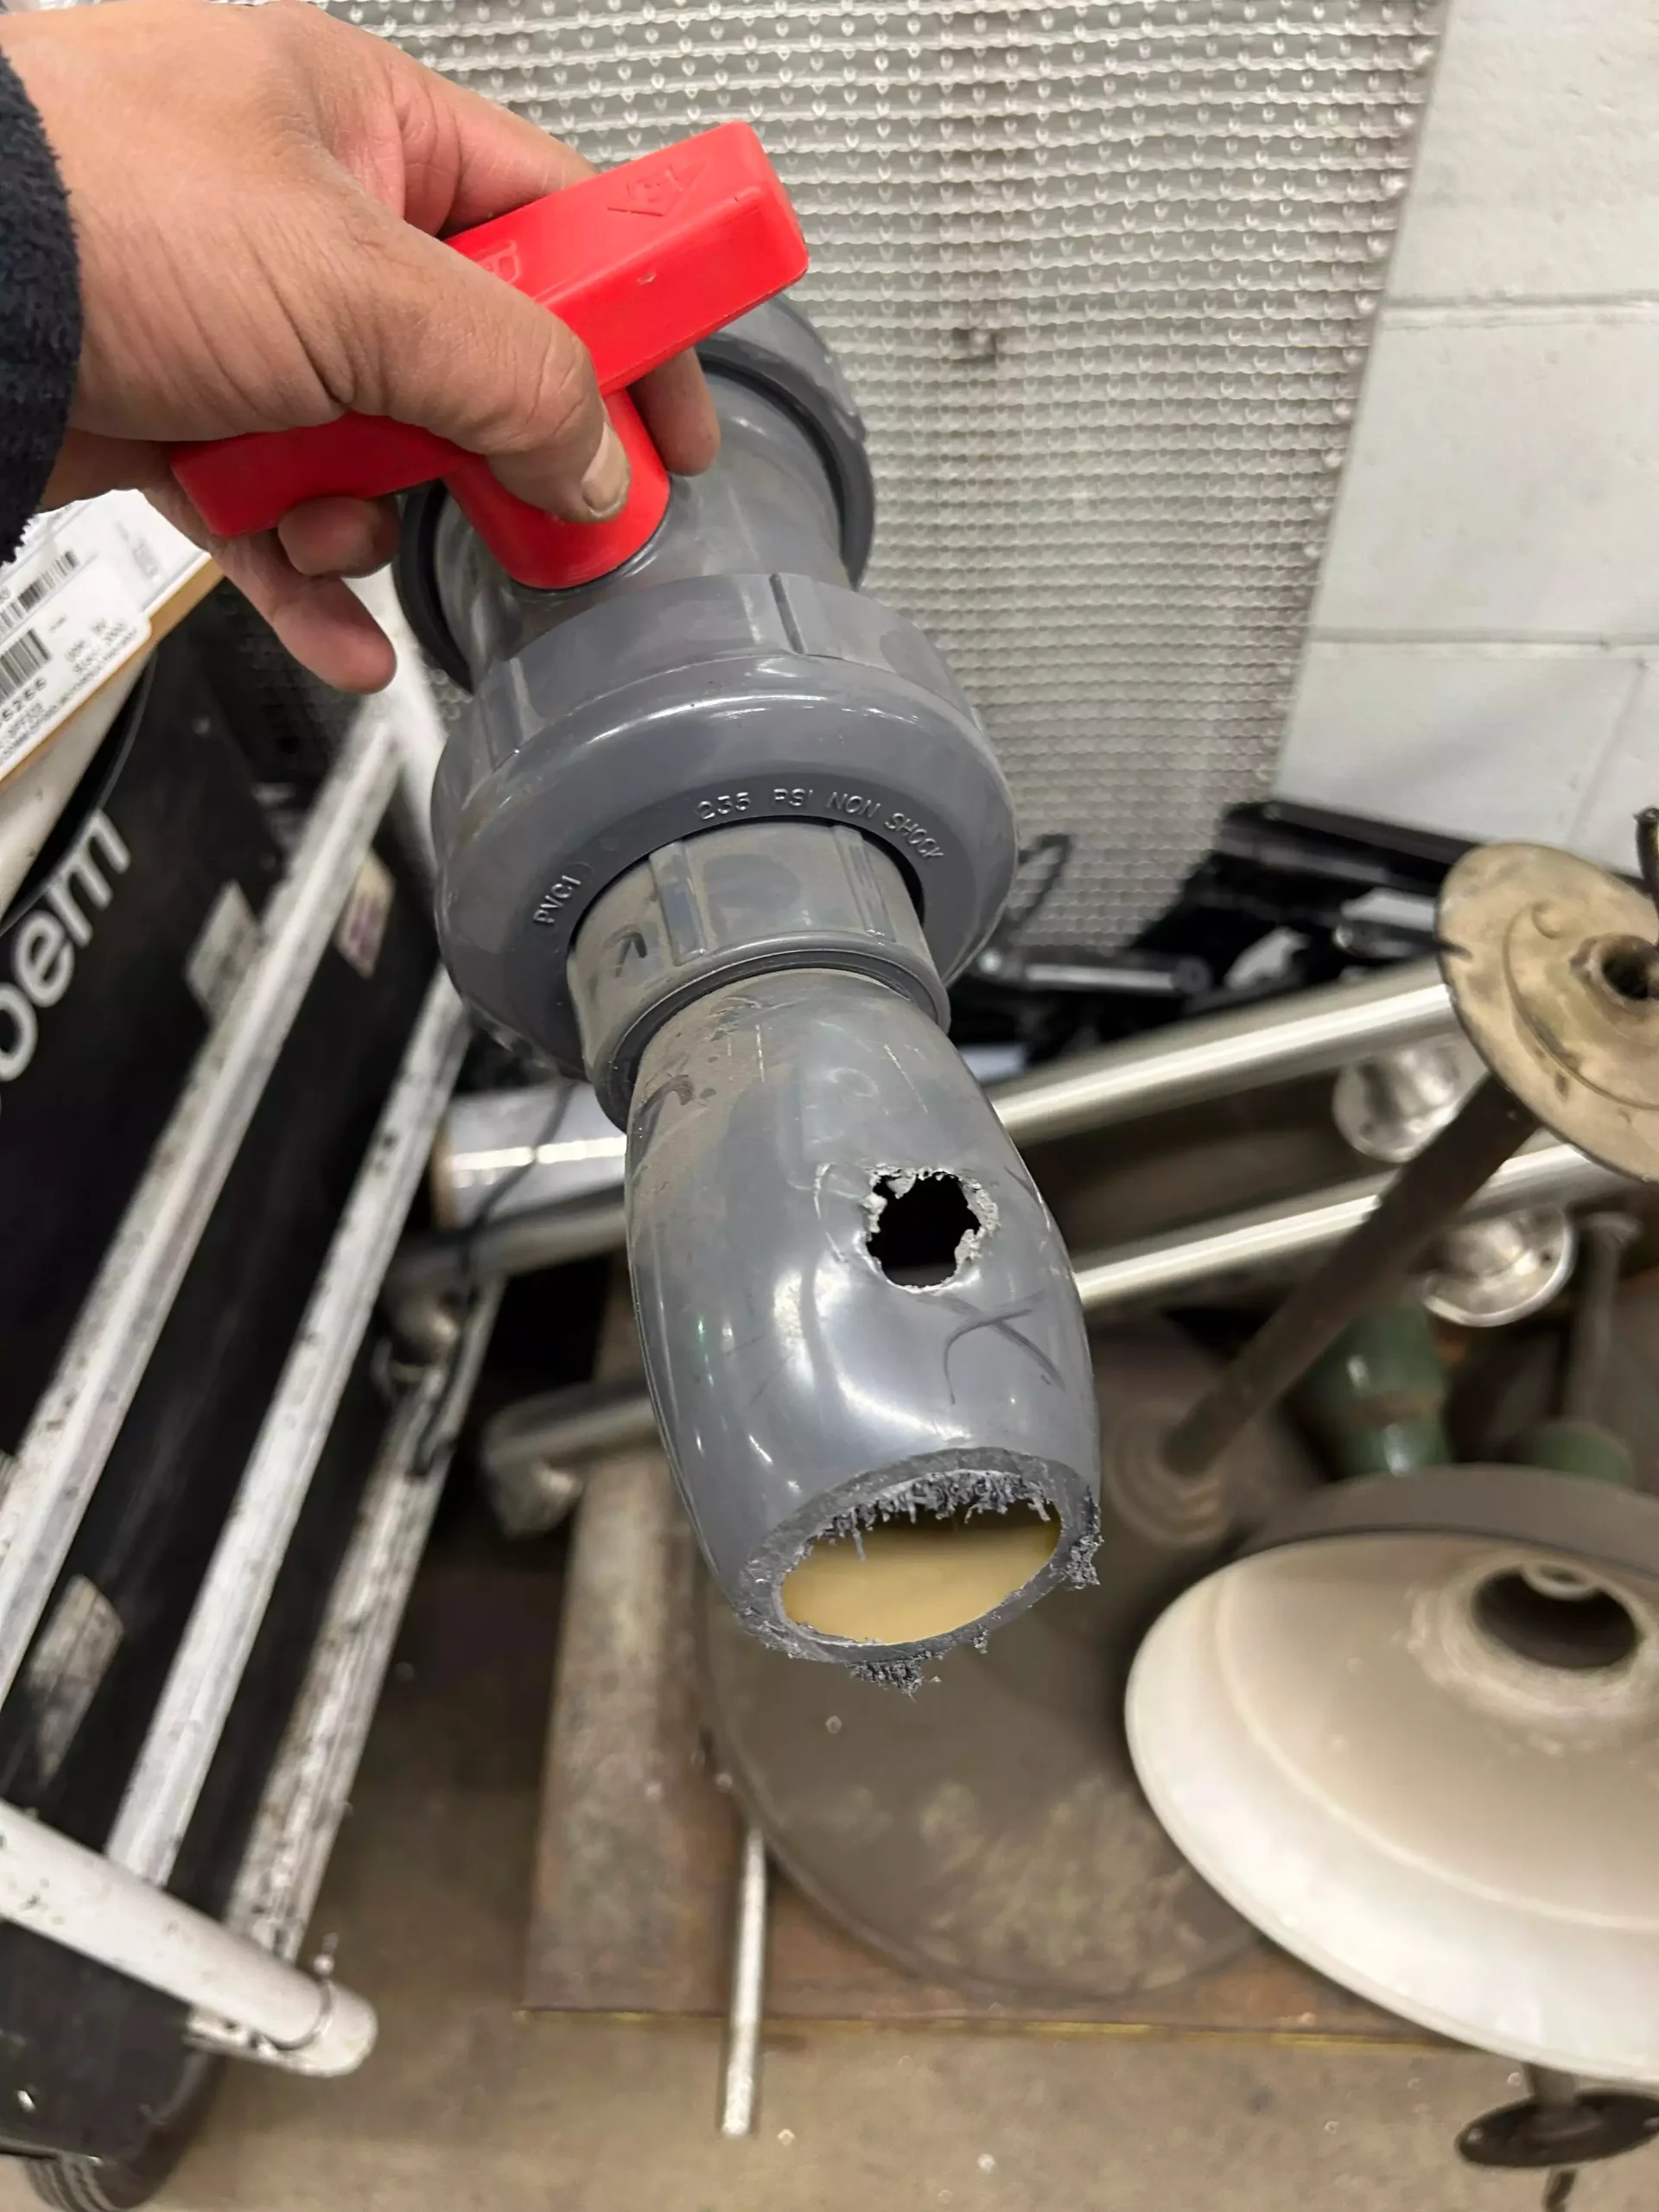
The spring pushes the disc, poppet, or ball back into the closed position. It helps your check valve close quickly when the flow drops or reverse pressure appears. Repeated compression, high temperatures, corrosion, metal fatigue, or water hammer can weaken, bend, or break the spring. You should check for the following signs:
If the spring is broken, bent, or clearly weakened, you should replace it with a new spring matching the original specification. You should also check the disc, valve seat, and guide parts for damage.
If you install the check valve backward, the fluid may not open the disc, ball, or poppet correctly. The valve may also fail to close properly, causing low flow, higher pressure loss, backflow, or damage to internal parts. You should check for the following signs:
If you installed the check valve in the wrong direction, you should shut down the system, isolate the valve, and fully release the pressure. Then reinstall the valve according to the body arrow. Make sure the arrow points in the normal direction of fluid flow.
When testing a check valve for leakage, you should check both internal and external leakage.
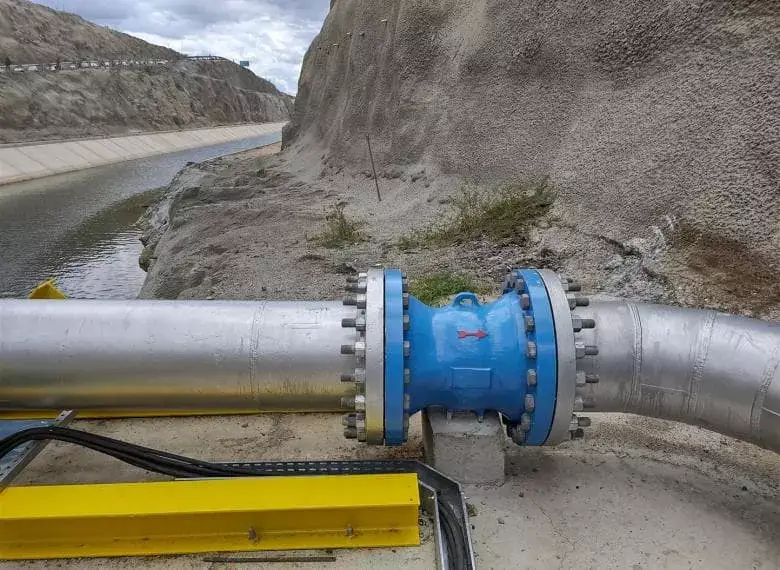
Before testing, shut down the pump or equipment, isolate the check valve, and release all pressure not required for the test. Make sure the fluid temperature has dropped to a safe level.
You can first use system pressure changes to determine whether the check valve may have internal leakage.
If pressure keeps dropping after you exclude leaks from pipes, fittings, tanks, and other valves, the check valve may have internal leakage.
A valve seat test provides a more direct way to check for internal leakage. After the check valve closes, apply controlled pressure from the outlet side. Then check whether fluid passes through the valve seat and flows toward the inlet side.
After pressurizing the valve, inspect the following areas:
In liquid systems, check for drips, wet marks, or pressure loss. In air or gas systems, use a suitable leak-detection liquid or professional equipment to check for bubbles and measure leakage. Never use an open flame to find a gas leak.
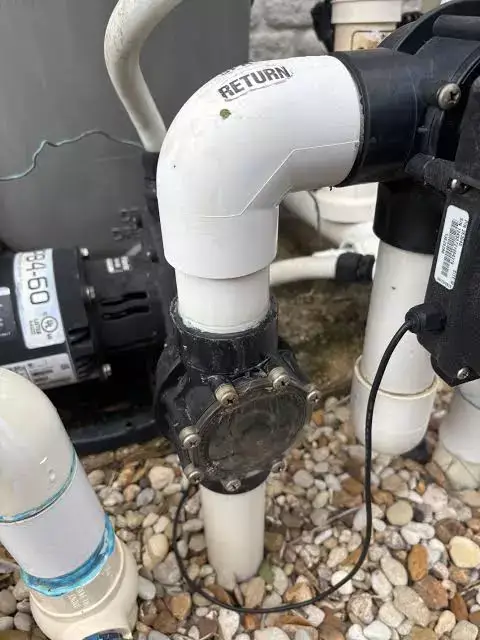
A check valve must prevent backflow, open at the required pressure difference, and close again when the pressure drops. Slowly increase the inlet pressure and record the pressure at which the valve begins to open. Then reduce the inlet pressure and check whether the valve closes again and forms a proper seal.
You should know that preventing check valve leakage requires more than regular valve replacement. You must reduce valve damage through correct selection, installation, operating conditions, fluid cleanliness, and regular maintenance.
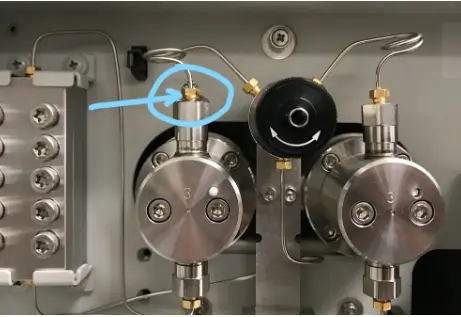
Different check valve types suit different flow rates, pressures, and installation conditions. For changing flow or fast closing, you can choose a spring-loaded check valve with a shorter closing distance. For high temperatures, large pipes, or low pressure loss, you should select a design that matches your actual operating conditions.
An oversized check valve may not remain fully open, causing chatter, repeated impact, and sealing surface wear. An undersized check valve may cause excessive flow speed, greater pressure loss, erosion, and cavitation. You should select the size using actual flow and valve flow-pressure drop data, rather than simply matching the pipe size.
During installation, the arrow on the valve body must point in the normal direction of fluid flow. After installation, you should check the body arrow and the actual pipe flow direction again.
Some check valves can only be installed horizontally, while certain models allow upward flow in vertical pipes. An incorrect position may let gravity affect the closing part, preventing it from moving freely or returning fully to the valve seat.
Rust, welding slag, scale, sand, and other particles may become trapped between the disc and seat, creating a continuous leak path. Before using new pipes, you should flush the system thoroughly.
For fluids containing solid particles, you can install a filter or strainer upstream of the check valve.
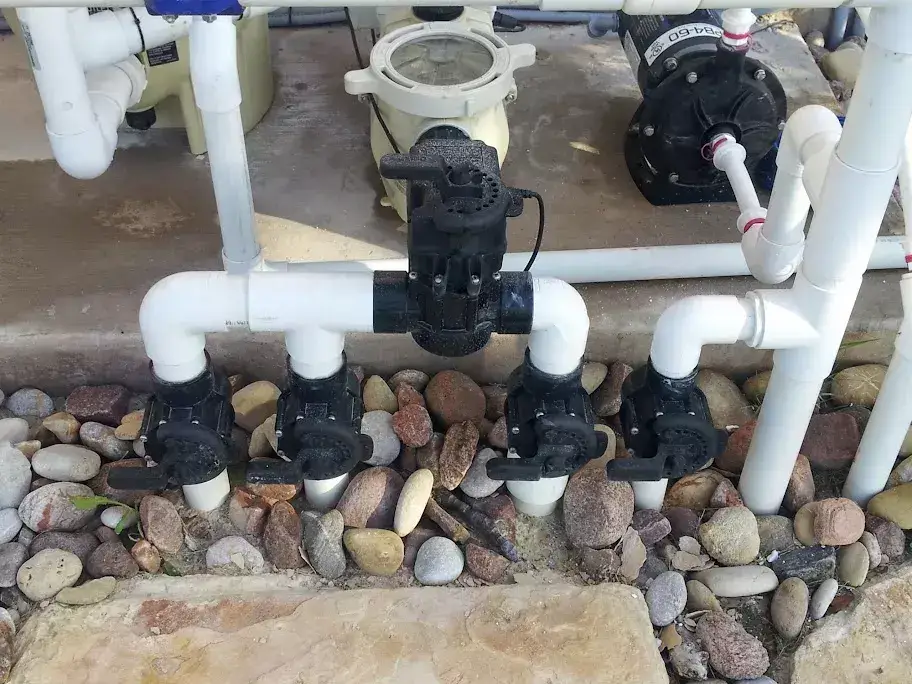
High flow speed increases erosion on the valve seat and disc. Low or changing flow may cause valve chatter and repeated impact. You should operate the check valve within a suitable flow range. You should also reduce frequent pump starts, sudden pressure changes, and pulsing flow whenever possible.
So, how can you prevent check valve leakage? The checklist below summarizes the key steps you should follow.
| Prevention Measure | Main Purpose |
|---|---|
| Select the valve size based on actual flow | Prevent chatter, high pressure loss, and erosion |
| Choose the correct check valve type | Ensure the valve opens and closes properly |
| Install the valve in the arrow direction | Prevent incorrect flow direction |
| Follow the required installation position | Allow the closing part to move correctly |
| Flush the pipes and install a strainer | Prevent debris from becoming trapped on the sealing surface |
| Choose materials compatible with the fluid | Reduce corrosion and seal damage |
| Control flow speed and pressure changes | Reduce impact, chatter, and wear |
| Reduce water hammer | Protect the disc, seat, spring, and connections |
| Support and align the pipes correctly | Prevent stress and deformation of the valve body and flanges |
| Tighten flange bolts evenly | Help the gasket form a reliable seal |
| Inspect seals and springs regularly | Find aging, corrosion, and loss of spring force early |
| Perform regular leakage tests | Find valve problems before leakage becomes serious |
Yes. A check valve may leak internally, allowing fluid to flow backward through the seat without escaping from the valve body or pipe connections. You may see no water, but you may notice pressure loss after pump shutdown, backflow, frequent pump starts, or abnormal downstream pressure. You should perform a pressure-holding test or valve seat leakage test.
You must consider the valve design, sealing material, and required leakage rating. Soft-seated check valves usually require tighter shutoff performance. Metal-seated check valves may allow slight leakage under certain test conditions, but it must remain within the manufacturer’s or applicable standard’s limits.
Yes. Rust, welding slag, scale, sand, or other debris may become trapped between the disc and seat, preventing complete valve closure. You should isolate the valve, release system pressure, and then inspect and clean the seat, disc, and internal flow passages. You should also flush the pipes and install a filter or strainer when the fluid contains dirt or solid particles.
There is no fixed inspection interval for every system. You should inspect the valve based on manufacturer requirements, fluid risk, operating frequency, and fluid cleanliness. You should inspect high-pressure, corrosive, toxic, or frequently cycled systems more often. You should inspect the valve immediately if you notice backflow, pressure loss, vibration, knocking sounds, or external wet marks.
A check valve has no fixed service life. You should consider the valve material, fluid, temperature, pressure, operating cycles, flow speed, installation quality, and maintenance conditions. You should not replace a check valve based only on its age. Instead, inspect the body, seat, disc, spring, and seals, then use pressure and leakage tests to determine the valve’s condition.
When a check valve leaks, you may notice backflow, pressure loss, frequent pump starts, unusual noise, pipe vibration, or external dripping. Even a small leak can damage pumps, pipes, and other equipment if you ignore it for a long time. After finding a leak, you should not simply replace the seal or the entire valve.
You need to check whether the seat, disc, spring, seals, installation direction, valve size, and materials match the actual operating conditions. You should know that correct selection, proper installation, regular inspections, and timely repairs can reduce check valve failures and protect your piping system.
—— We Will Provide You With Professional OEM Solutions.
Whether you require pump bearings, pump valves, mechanical seals, or other custom-engineered components, we support production based on your drawings as well as rapid prototyping.
Please complete the form on the right and upload your technical drawings or specifications. Our engineering team will review your requirements within 24 hours and provide a detailed quotation, application recommendations, and delivery schedule.
Copyright © 2025 Sakowit, All rights reserved.
WhatsApp us