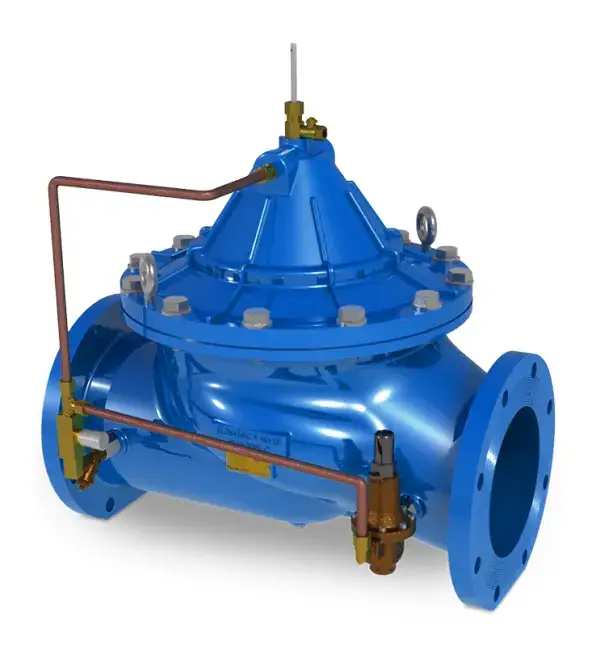

When your check valve develops a problem, you should take it seriously.Small leaks, unusual noise, or higher pressure loss can worsen over time, causing backflow, water hammer, pump cycling, pipe vibration, seal damage, or equipment failure.Identifying the problem promptly can not only reduce maintenance costs but also prevent unplanned downtime and system safety risks.
Common check valve problems include internal or external leaks, failure to open or close, stuck discs, slamming, chattering, noise, high pressure drop, wear, corrosion, and erosion.This guide explains how check valves work, common failure signs, quick troubleshooting, failure causes, prevention methods, and solutions to common check valve problems.
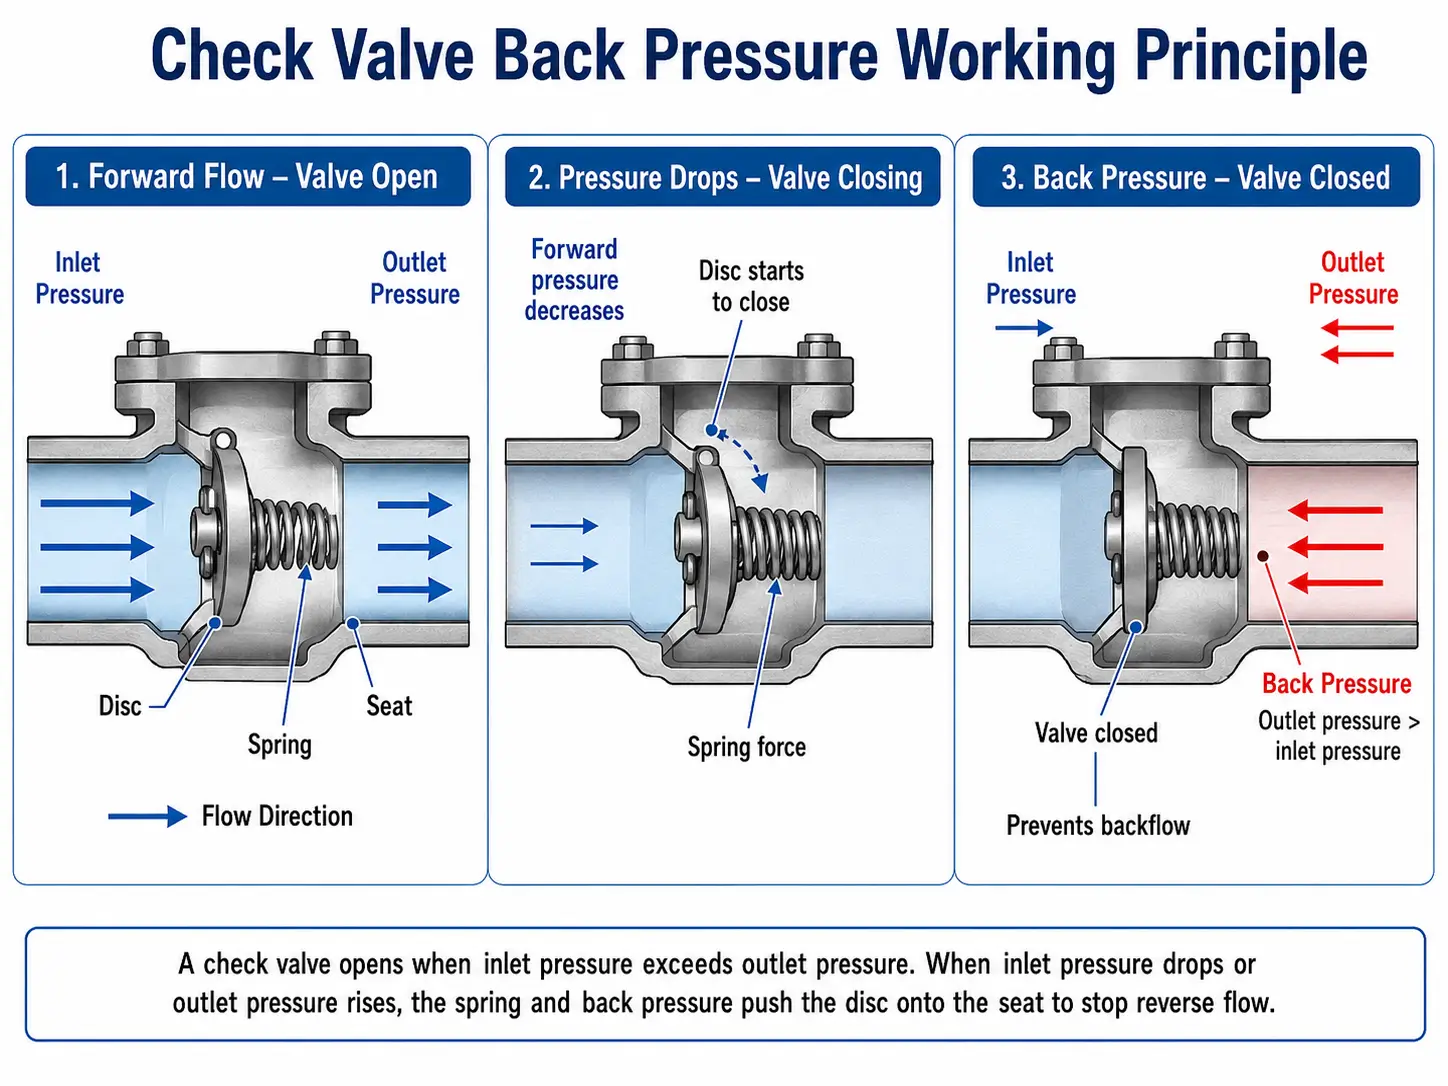
Do you know how a check valve works? Simply put, a check valve opens and closes automatically based on the pressure difference across the valve. When the inlet pressure is high enough, the fluid pushes the disc away from the seat and flows forward.
When the flow decreases, the pump stops, or the outlet pressure exceeds the inlet pressure, the disc closes under gravity, spring force, or back pressure to prevent backflow.
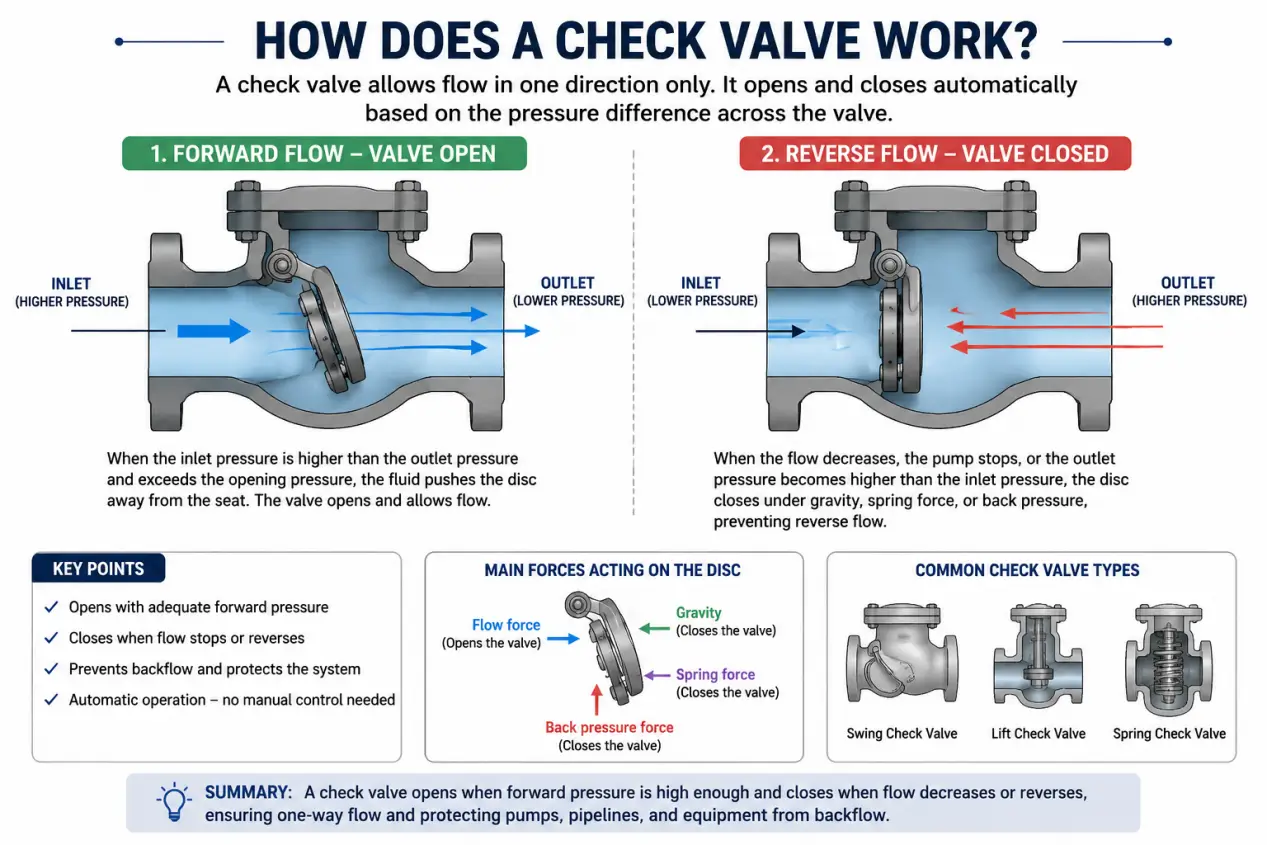
If your check valve behaves abnormally during pump startup or shutdown, low-flow operation, or a sudden increase in downstream pressure, it may indicate a valve problem.Signs of check valve failure include backflow, leaks, opening or closing problems, unusual noise, disc chattering, valve slam, high pressure drop, unstable flow, pump cycling, reverse rotation, and pipe vibration.
These problems are commonly caused by a stuck disc, damaged sealing surfaces, debris blockage, insufficient flow, incorrect installation direction, pressure fluctuations, or improper valve selection.
When a check valve shows backflow, leaks, unusual noise, chattering, high pressure drop, or opening and closing problems, you should identify possible causes from these symptoms.The troubleshooting chart below lists common problems, possible causes, inspection methods, and recommended solutions to help narrow down the source of the failure.
| Проблема | Common Causes | Quick Check | Recommended Solution |
|---|---|---|---|
| Internal Leakage | The disc does not close fully, the sealing surfaces are damaged, or debris is trapped inside the valve. | Observe the pressure and flow direction after stopping the pump. | Remove debris and repair or replace the disc, valve seat, and seals. |
| External Leakage | Damaged gasket, loose connection, worn seal, or cracked valve body. | Inspect the cover, flange, threaded connections, and valve body. | Tighten the connections and replace the gasket, seal, or damaged valve. |
| Valve Fails to Open | Cracking pressure is too high, the spring is too stiff, the disc is stuck, or inlet pressure is too low. | Measure the pressure difference across the valve and check disc movement. | Clean the internal parts, replace the spring, or select a more suitable check valve. |
| Valve Fails to Close | Debris blockage, a stuck disc or shaft, or incorrect installation direction. | Check the flow-direction arrow and inspect the moving internal parts. | Remove the blockage, repair the moving parts, and correct the installation direction. |
| Continuous Disc Chattering | Flow is too low, the valve is oversized, or the flow rate changes frequently. | Compare the actual flow rate with the valve's minimum stable flow requirement. | Stabilize or increase the flow, use a smaller valve, or improve system control. |
| Valve Slam | The disc closes too slowly, reverse-flow speed is too high, or the valve type is unsuitable. | Observe pressure changes and check the closing time after the pump stops. | Use a fast-closing or spring-assisted check valve and improve the pump shutdown process. |
| Unusual Noise | Disc chattering, cavitation, foreign objects, loose parts, or incorrect installation. | Identify where and when the noise occurs. | Clean the valve, improve flow conditions, and secure the valve and piping. |
| Excessive Pressure Drop | The valve is too small, does not open fully, or the flow passage is blocked. | Measure the pressure difference across the valve. | Check disc movement, remove the blockage, or select a more suitable valve size. |
| Unstable Flow or Pressure | The disc repeatedly opens and closes, pump operation is unstable, or pressure fluctuates. | Record changes in flow rate and system pressure. | Improve pump control, stabilize the flow, and reconsider the valve selection. |
| Pump Reverses or Restarts Frequently | The check valve does not close tightly, backflow occurs, or the control system is faulty. | Check the flow direction and pump shaft after stopping the pump. | Repair the check valve and inspect the pump and control system. |
| Continuous Pipe Vibration | Unstable flow, cavitation, water hammer, or insufficient pipe support. | Inspect the piping and supports near the valve. | Correct water hammer and chattering problems and reinforce the pipe supports. |
| Sealing Surface Corrosion or Erosion | The valve material is unsuitable, flow velocity is too high, or the fluid contains abrasive particles. | Inspect sealing-surface damage and check the fluid conditions. | Use corrosion-resistant materials, reduce flow velocity, or install a filter. |
Do you know what check valve internal leakage and reverse flow mean? Internal leakage occurs when fluid continues to pass between the disc and seat after the valve has closed. Reverse flow means that fluid flows back from the outlet side to the inlet side.
Internal leakage is often the direct cause of reverse flow. However, abnormal pressure differences, slow valve closing, or an unsuitable valve type may also cause temporary reverse flow. Common causes include worn or damaged sealing surfaces, debris trapped between the disc and seat, incomplete disc closure, and a weak or broken spring.
What should you do when this problem occurs? After stopping the pump, you can check whether the outlet pressure drops quickly, the inlet pressure rises abnormally, the pump rotates backward, or reverse-flow noise occurs in the pipe. You should first remove debris and deposits, then check whether the disc can move freely. Worn, deformed, or corroded discs, seats, and seals should be repaired or replaced promptly.
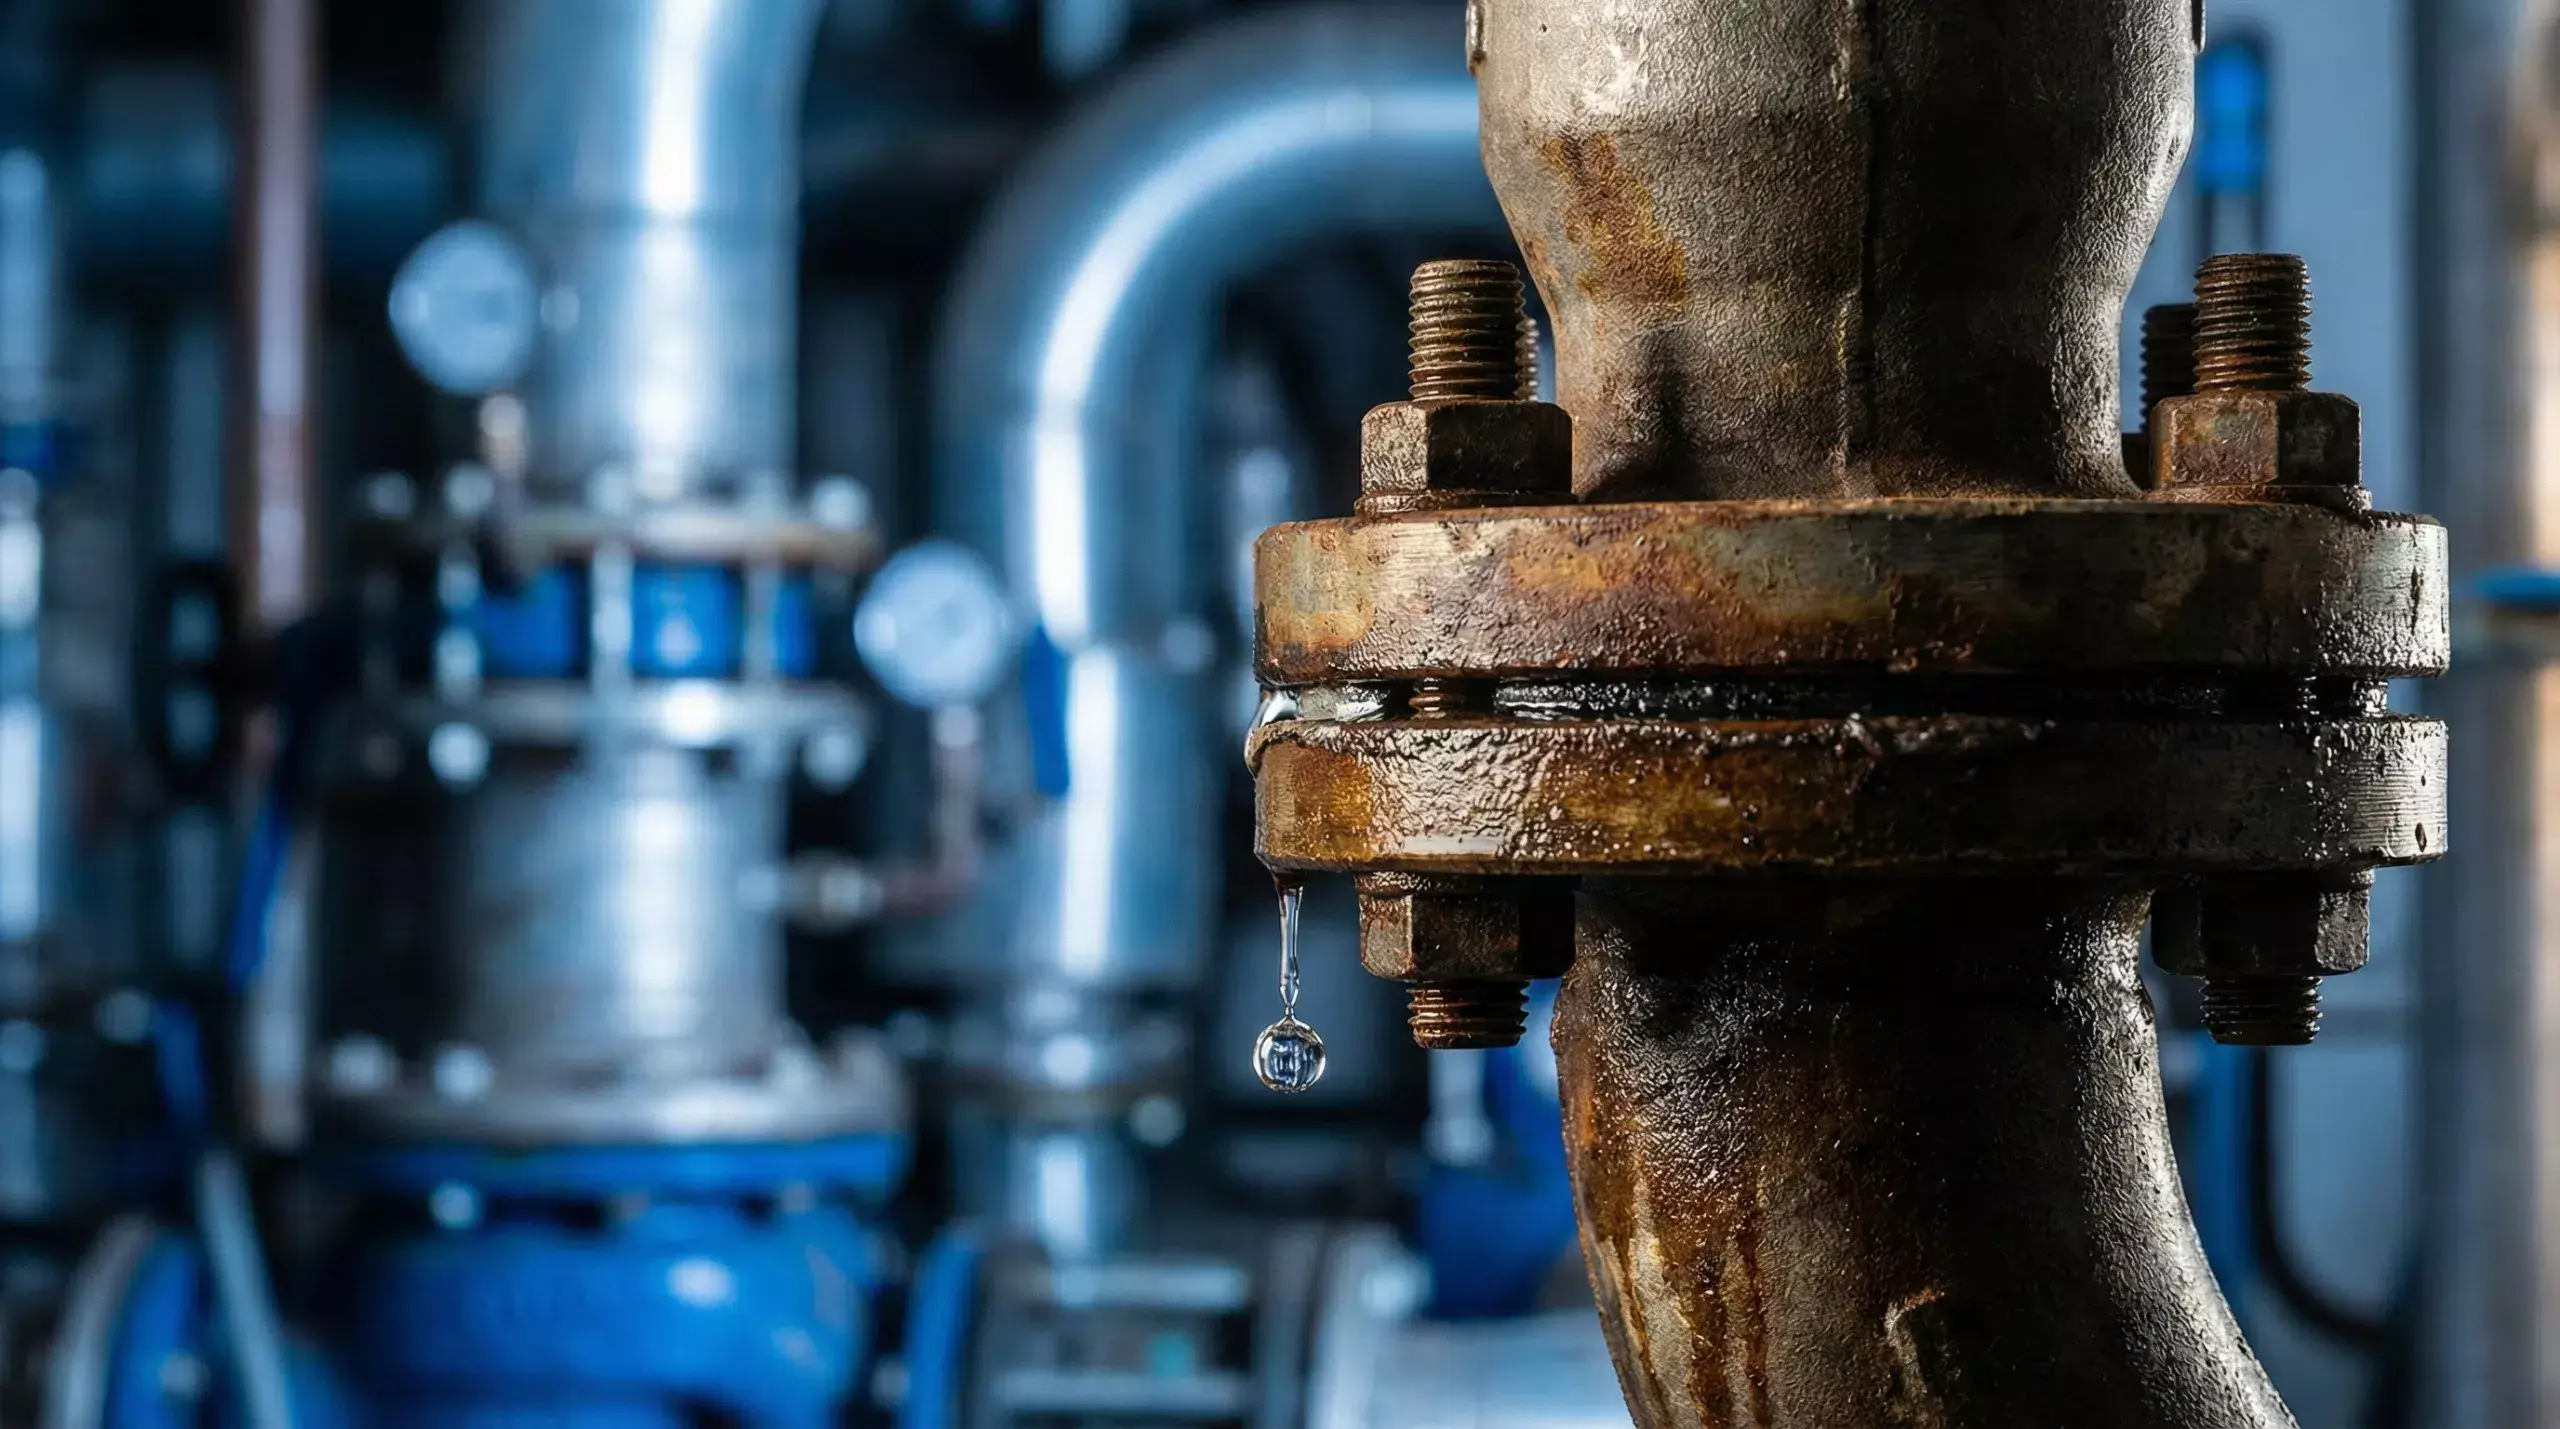
Check valve external leakage occurs when fluid escapes from the valve body, cover, flange, threaded connection, packing, or gasket into the surrounding area. It differs from internal leakage: internal leakage occurs inside the valve, while external leakage can usually be seen directly on the valve surface.
Do you know the common causes? They include loose or unevenly tightened flange bolts, aged or damaged flange gaskets, incorrect gasket installation, loose threaded connections, and failed sealing materials.Clean and recheck the valve, inspecting flanges, bolts, gaskets, threads, cover, and body for looseness, corrosion, or cracks. Use proper gas leak detection.
A check valve fails to open when the pump has started, but the disc remains seated, preventing fluid from passing through or causing a significant reduction in flow.You may notice no or low downstream flow, increased valve pressure drop, abnormal pump outlet pressure, pump overload, or unusual noise while the pump is running.
What causes this problem?Causes include low inlet pressure, high opening pressure, a stiff or damaged spring, a disc stuck by rust or dirt, wrong installation direction, or an unsuitable valve size or type.During troubleshooting, first confirm that the flow arrow on the valve body matches the actual flow direction.
Then measure the pressure difference across the valve and check the pump outlet pressure, filter, and piping for blockages.
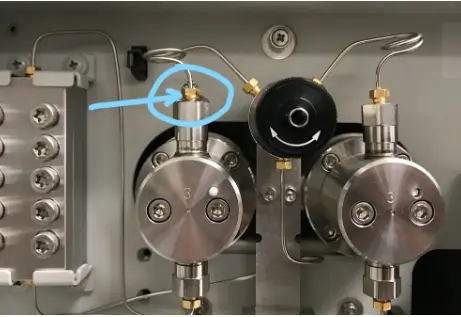
A check valve fails to close when the disc does not return to the valve seat after the flow decreases, the pump stops, or reverse flow begins, leaving the valve partly or fully open. This may allow fluid to flow backward and cause pump reverse rotation, pressure loss, water hammer, or equipment damage.
You may notice continued backflow after the pump stops, a rapid drop in outlet pressure, an unusual rise in inlet pressure, reverse pump rotation, or continuous flow noise in the pipe. In severe cases, valve slam, water hammer, and pipe vibration may also occur.
How should you solve this problem? Remove debris and deposits from inside the valve and repair any stuck moving parts. Replace damaged springs, discs, seats, or seals promptly. If incorrect installation, unsuitable valve size, or improper valve design causes the problem, reinstall the valve or select a check valve better suited to the system conditions.
A check valve is stuck open when the disc cannot return to the valve seat, causing continuous backflow or incomplete closure. It is stuck closed when the disc cannot lift from the seat, preventing fluid from passing through or greatly reducing the flow rate.
If the valve is stuck open, you may notice backflow after pump shutdown, falling outlet pressure, the pump running backward, pipe flow noise, or incomplete closing.When the valve is stuck closed, the pump may be running while there is little or no downstream flow. The pressure before the valve may rise, and the pump may experience overload, vibration, or unusual noise.
When this happens, first stop the equipment and release the system pressure. Then check whether the disc, spring, shaft, and guide parts can move freely. Remove debris, rust, and deposits, and repair or replace damaged discs, seats, springs, and seals.
If the valve repeatedly becomes stuck, also check the fluid conditions, installation direction, pipe stress, and valve selection instead of simply cleaning the valve.
Check valve chatter or flutter occurs when the disc cannot remain steadily open during operation and instead opens and closes rapidly near the valve seat. This usually happens when the flow rate is too low or the system flow changes frequently.
You may hear continuous knocking, metal impact, or high-frequency vibration. The valve and nearby piping may also vibrate, while the flow becomes unstable or the pressure gauge needle moves repeatedly. Long-term chattering can wear the disc, spring, shaft, and valve seat.
What should you do? Stabilize the system flow and avoid operating the check valve at low flow for long periods. If the valve is oversized, replace it with a smaller valve or one better suited to low-flow conditions. You can also improve pump control, adjust the installation position, or use a spring-assisted, short-stroke, fast-response check valve.
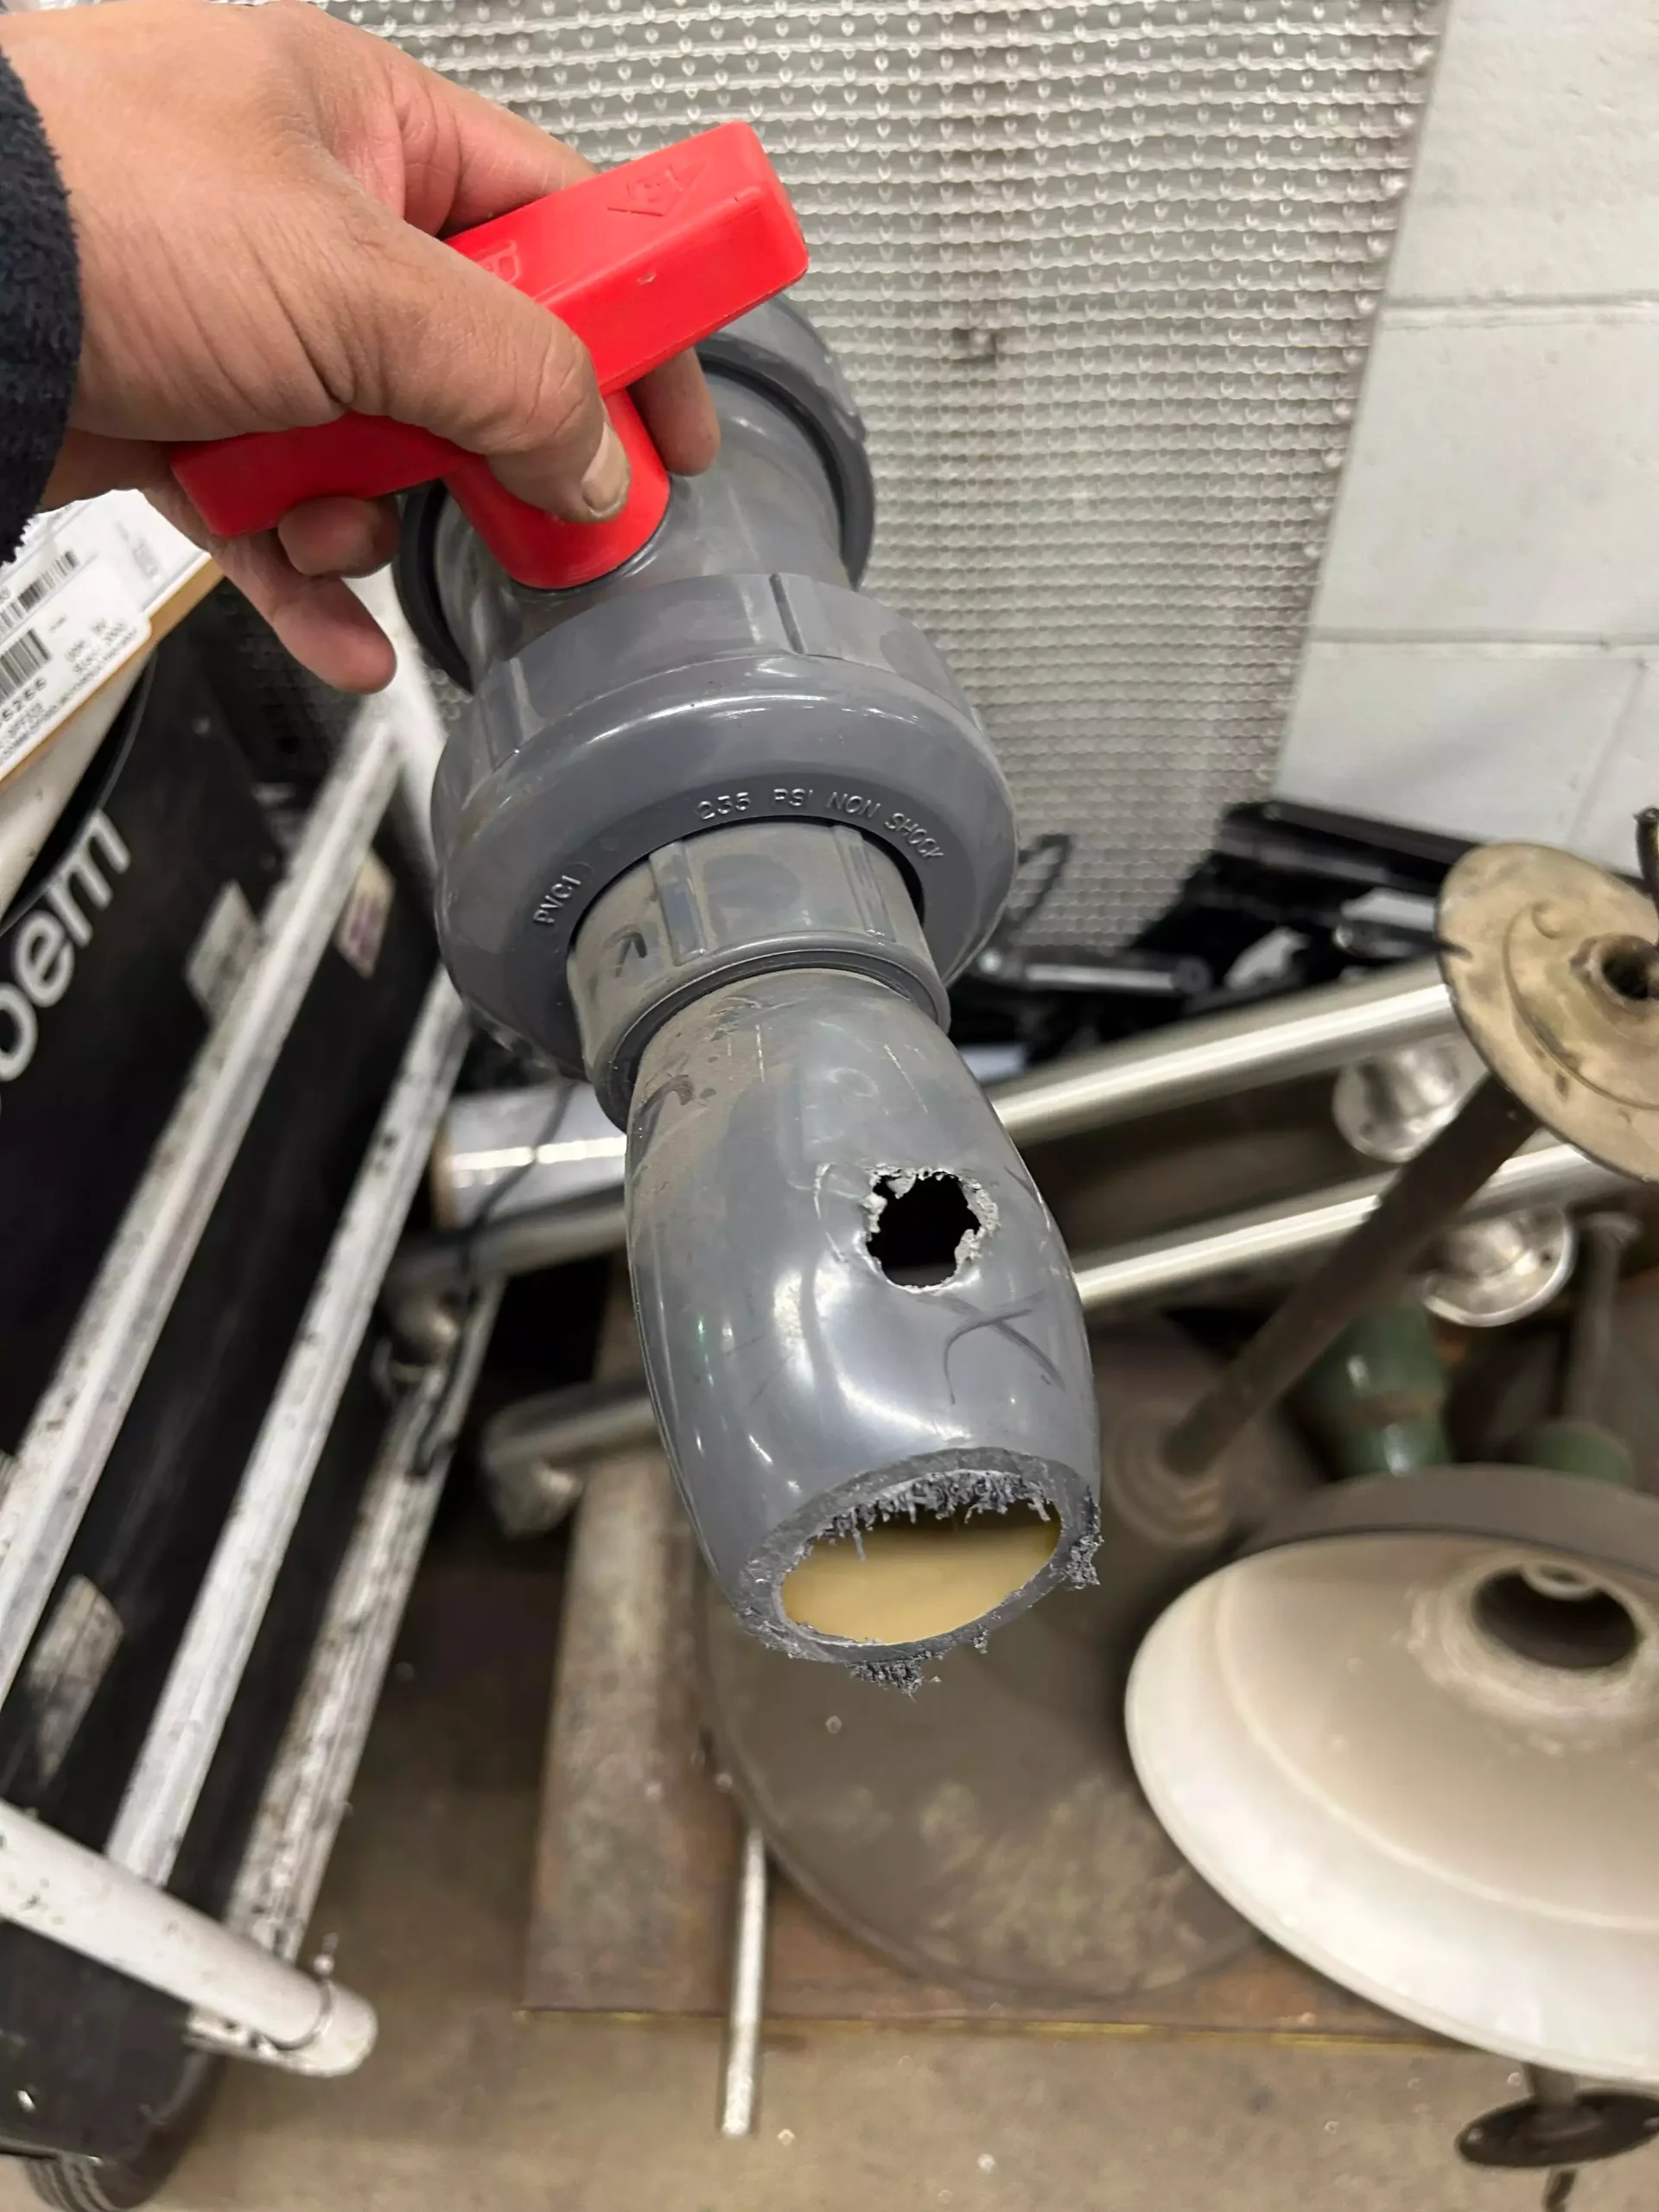
You should know that check valve failure is usually not caused by a single issue. It is often related to valve selection, installation, flow, fluid conditions, and maintenance. If the actual operating conditions do not match the valve design, the valve may leak, fail to open, close poorly, chatter, slam, cause water hammer, or create excessive pressure drop.Common causes include:
When diagnosing check valve problems, do not replace the valve immediately. First identify when the problem occurs, review the system symptoms and actual operating conditions, and then inspect the valve’s internal parts step by step.
First, record the problems occurring in the system, such as:
Also confirm whether the problem occurs during pump startup, normal operation, flow changes, or pump shutdown.
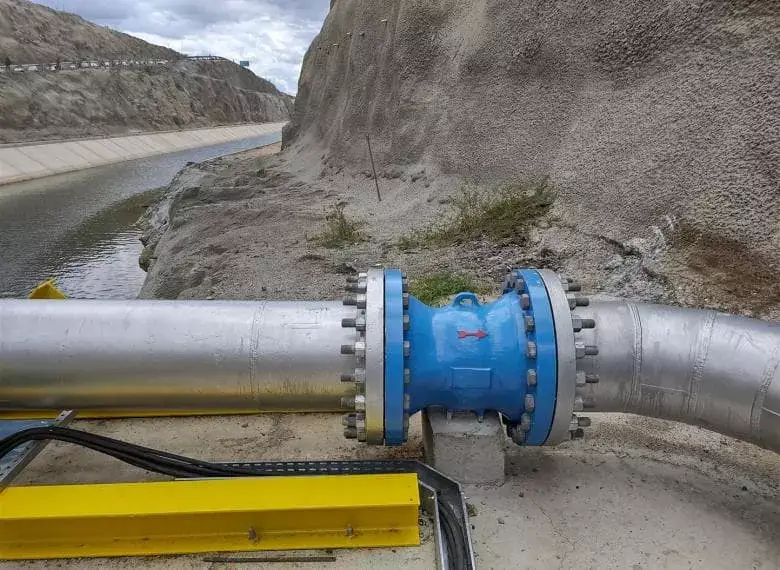
You should not only confirm that the flow arrow on the valve body matches the actual flow direction in the pipeline. You should also check whether the valve is installed in an approved position and whether elbows, pump outlets, or other components near the valve may cause unstable flow.
Measure the pressure at the valve inlet and outlet, and record the actual flow rate. Low flow may prevent the disc from opening steadily, while excessive flow speed may cause noise, erosion, pressure loss, and premature valve wear.
You should understand that problems occurring at different stages usually indicate different causes:
After shutting down the system and releasing the pressure, disassemble and inspect the valve. Check the disc, seat, spring, shaft, hinge, guide parts, and seals for:
You should check that valve size, design, material, opening pressure, and flow capacity match actual flow, pressure, temperature, fluid viscosity, and particle levels.Do not judge whether a valve is suitable based only on the pipe size.
Remove debris and deposits from inside the valve promptly, tighten loose parts, and replace damaged discs, seats, springs, shafts, or seals. If incorrect valve selection caused the problem, replace it with a check valve that has a more suitable size, material, or design.
Whether you should repair or replace a check valve depends on the cause of the failure, the extent of component damage, repair costs, and the valve’s remaining service life.
If the problem is caused only by debris, deposits, minor sticking, or loose components, it can usually be solved by cleaning, tightening, or replacing the seals. Repair is generally more affordable for simple, serviceable check valves with readily available replacement parts.
You should know that there is no fixed check valve inspection schedule for every system. Inspection frequency depends on the fluid, pressure, temperature, operating cycles, environment, and valve importance.The following inspection intervals can be used as a general reference:
| Inspection Type | Recommended Interval | Main Inspection Items |
|---|---|---|
| Routine Operating Inspection | Weekly or Monthly | Leakage, unusual noise, vibration, reverse flow, and pressure changes |
| Regular Functional Inspection | Every 3–6 Months | Valve opening and closing, pressure drop, flow rate, and sealing performance |
| Internal Parts Inspection | Every 6–12 Months | Disc, seat, spring, shaft, hinge, and seals |
| Complete Maintenance | Every 1–2 Years | Disassemble, clean, measure wear, and replace damaged parts |
We do more than supply check valves. We analyze your flow, pressure, temperature, fluid, operating cycles, and installation conditions to help you identify the true cause.
Based on actual conditions, we recommend the right valve size, design, material, and opening pressure for you, with customization, testing, installation, and maintenance support to reduce common failures.
Check valve problems may seem like leaks, noise, or pressure drop, but if you ignore them, they may cause reverse flow, water hammer, pump cycling, pipe vibration, and equipment damage.
Do not simply replace the valve. You should check valve selection, installation direction, flow range, fluid conditions, and pressure changes to find the root cause and prevent repeat failures.
—— We Will Provide You With Professional OEM Solutions.
Whether you require pump bearings, pump valves, mechanical seals, or other custom-engineered components, we support production based on your drawings as well as rapid prototyping.
Please complete the form on the right and upload your technical drawings or specifications. Our engineering team will review your requirements within 24 hours and provide a detailed quotation, application recommendations, and delivery schedule.
Copyright © 2025 Sakowit, все права защищены.
Сообщите нам по WhatsApp
 Russian
  English
  Portuguese
  Arabic
  Spanish