 How to Install Mechanical Seals Correctly to Extend Pump Life and Reduce Maintenance Costs
Why Proper Installation Matters
Industry data shows that over 80% of mechanical seal failures are caused by improper installation — not product defects.
A small mistake such as misalignment, incorrect torque, or contamination can immediately shorten seal life.
To help you avoid unnecessary downtime and seal damage, this guide walks you through the essential installation steps and best practices used worldwide by professional pump technicians.
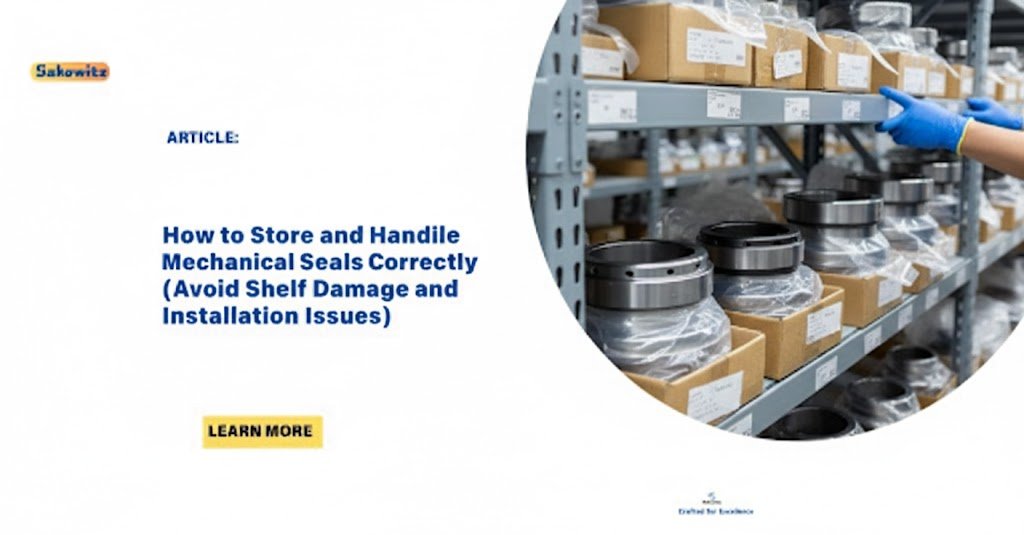
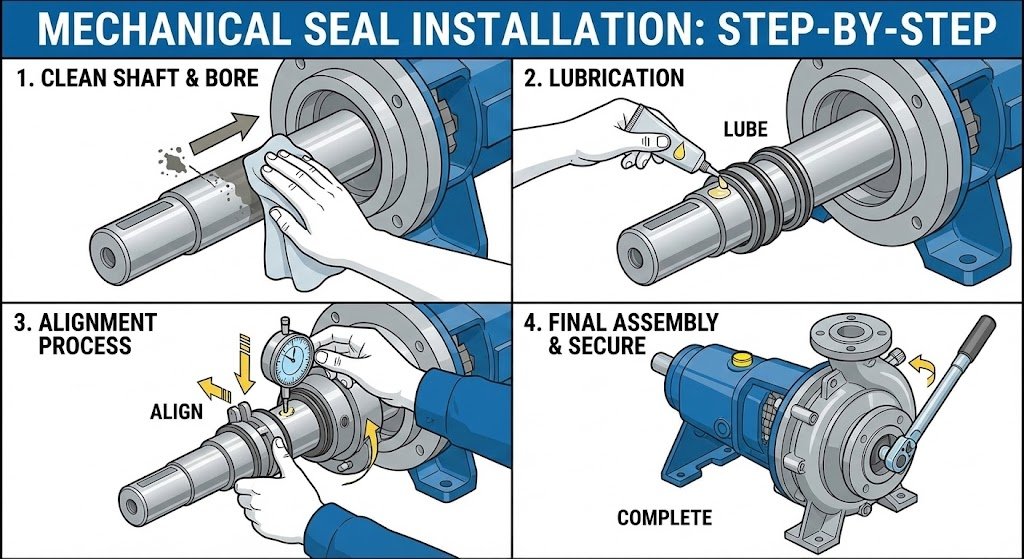
1. Ensure Shaft and Housing Cleanliness
Any dust, rust, oil, or metal debris can scratch the seal faces.
✔ Best practices
-
Thoroughly clean the shaft, sleeve, and gland area
-
Avoid touching the faces with bare hands
-
Use lint-free cloth and clean solvent
-
Inspect for burrs or scratches
2. Check Shaft Alignment and Runout
Misalignment increases vibration → vibration destroys sealing faces.
✔ Acceptable limits
-
Shaft runout should generally be ≤ 0.05 mm
-
Misalignment should be corrected before installing the seal
3. Lubricate the O-rings and Elastomers
Dry installation can tear O-rings during assembly.
✔ Use correct lubricant
-
Silicone-based grease or clean light oil
-
Never use petroleum oil on EPDM
-
Avoid excessive lubrication — can cause sliding during tightening
4. Install the Seal Faces Carefully
The faces are precision components with extremely tight tolerances.
✔ Tips
-
Never touch the faces directly
-
Do not force the components
-
Confirm springs are seated correctly
-
Ensure the seal is installed to the proper depth
5. Tighten the Gland Plate Correctly
Incorrect torque causes uneven compression → leakage and premature failure.
✔ Best practices
-
Tighten bolts diagonally (cross pattern)
-
Use manufacturer-recommended torque
-
Recheck after initial tightening
6. Flush System Before Startup
Foreign particles will immediately scratch the sealing surfaces.
✔ Recommended
-
Flush piping, pump casing, and seal chamber
-
For slurry or dirty media, use external flush plans (API Plan 11, 32)
7. Avoid Dry Running at Startup
Even 3 seconds of dry running can destroy the seal.
✔ Ensure:
-
Pump is properly primed
-
Seal chamber is filled with liquid
-
Valves are opened before startup
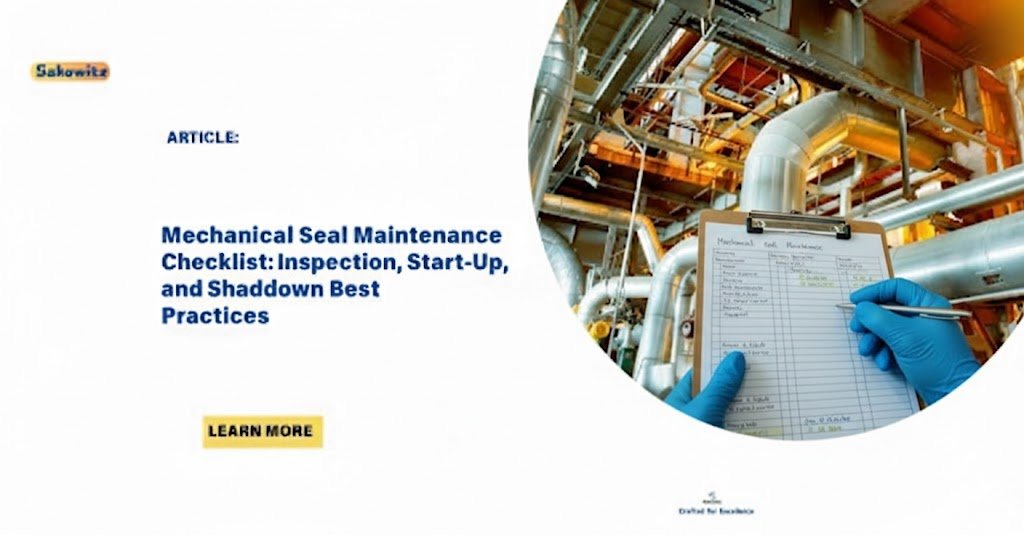
8. Conduct a Controlled Startup
A gentle startup allows the seal to seat properly.
✔ Startup checklist
-
Monitor pressure and temperature
-
Check for abnormal vibration
-
Inspect for leakage after 5–10 minutes of operation
Common Installation Mistakes to Avoid
-
Over-tightening gland bolts
-
Contaminated installation environment
-
Incorrect seal selection for the medium
-
Running pump without priming
-
Skipping alignment inspection
Recommended Seal Models for Reliable Installation
At Sakowitz, our seals are designed for easy installation and reduced failure risk:
-
SK-XD110 / SK-XD112 — General-purpose pump seals
-
SK-XD564 / SK-XD564 — Wastewater and slurry-resistant
-
M481K — High-pressure reactors and high-temperature media
-
SK-XD225 / SK-XD170 — Chemical pumps, oil & gas
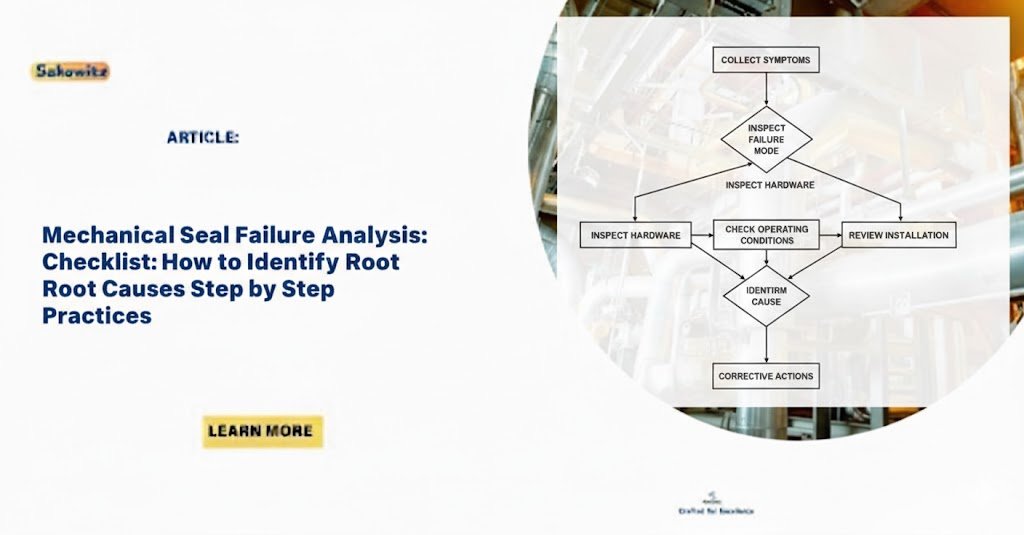
Conclusion
Correct installation is the most effective way to prevent mechanical seal failure.
By following the guidelines above, you can significantly extend equipment life and reduce maintenance costs.
Call to Action (CTA)
👉https://sakowit.com/rubber-bellow-mechanical-seal-manufacturer/
Need help selecting the right seal or solving a leakage problem?
Contact Sakowitz for a free technical consultation or quotation.